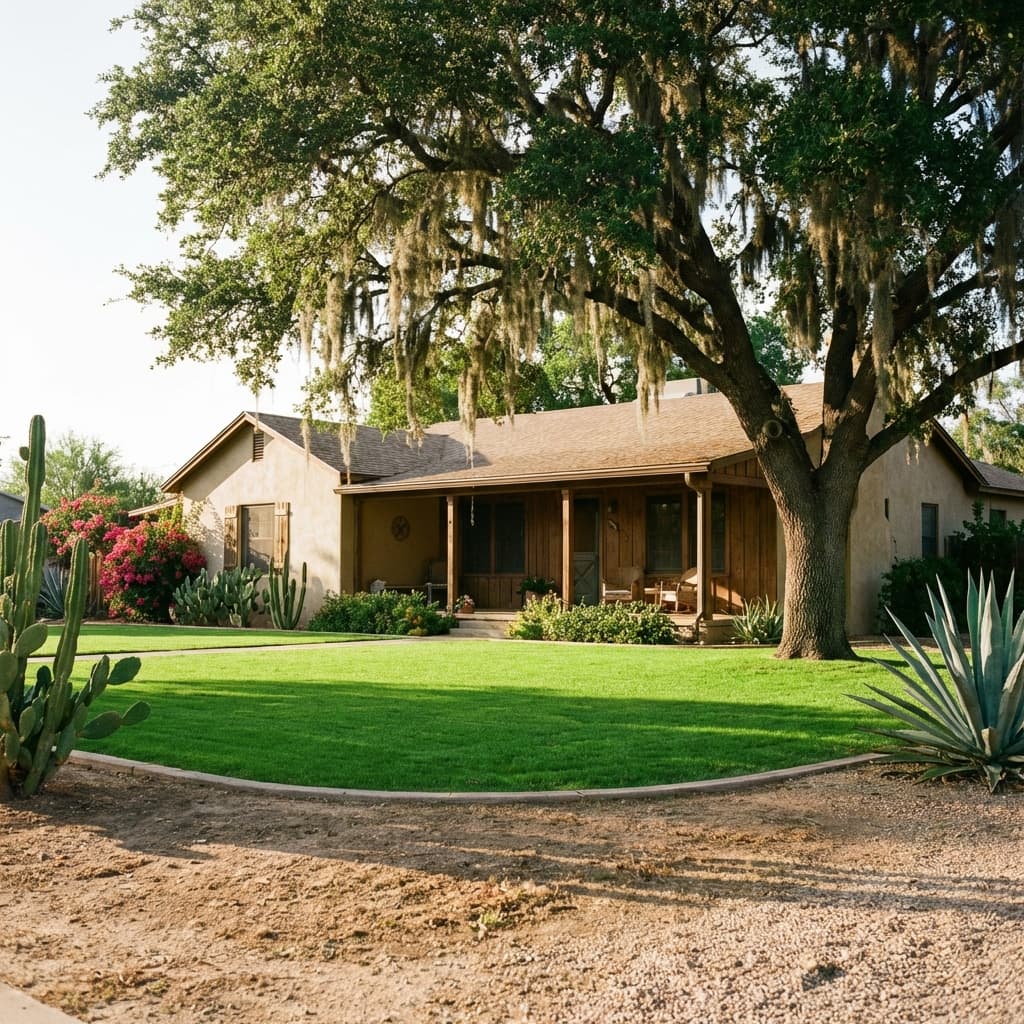
Complete Lawn Renovation in Jacksonville, FL: When to Rip It Out and Start Over
There comes a point where patching, fertilizing, and fighting weeds just isn't cutting it anymore. You've tried overseeding the bare spots. You've dumped money on weed treatments. You've adjusted the irrigation, sharpened the mower blades, and followed every tip your neighbor gave you. And still — your Jacksonville lawn looks terrible.
If that's where you are right now, it might be time for a full lawn renovation.
A complete lawn renovation means stripping the old turf down to bare soil and starting fresh with new sod. It sounds drastic, and honestly, it is. But sometimes it's the smartest move. A well-executed renovation gives you a clean slate — no more weeds entangled in the root zone, no more thatch problems, no more mismatched grass varieties from years of patch repairs.
This guide walks Jacksonville homeowners through the entire process — from deciding whether a renovation is actually necessary to the final day of your new lawn's establishment.
When Is a Full Renovation Worth It?
Not every bad lawn needs a complete do-over. Sometimes spot repairs and improved maintenance can bring things back. But in these situations, renovation makes more sense than repair:
More Than 50% of the Lawn Is Dead or Weeds
This is the big one. When weeds, bare soil, or dead grass cover more than half your yard, you're spending more time and money trying to save a losing battle than you would just starting over. In Jacksonville, we see this a lot with older lawns in neighborhoods like Arlington, Murray Hill, and the Northside where decades of neglect or poor drainage have taken their toll.
Wrong Grass Type for Your Conditions
Maybe the previous homeowner planted Bermuda in a shaded yard, or you've got a mix of three different grass types from various patch jobs over the years. A renovation lets you choose the right grass for your specific conditions — sun exposure, foot traffic, soil type, and maintenance preferences.
Severe Pest or Disease Damage
Repeated infestations of chinch bugs or persistent fungal diseases like brown patch or take-all root rot can weaken turf beyond the point of practical recovery. Renovation removes the infected material and gives you a fresh start.
Grading or Drainage Problems
If your yard has significant low spots that hold water, slopes that cause erosion, or grading issues that send water toward your foundation, you need to fix the soil grade before any grass can succeed. That means removing the existing turf, regrading, and then installing new sod. Neighborhoods built on Jacksonville's low-lying land — parts of Bartram Park, Argyle, the Westside, and areas near the Intracoastal — commonly deal with drainage issues.
Renovation After Construction
Home additions, pool installations, septic work, or major tree removal often leave parts of the yard destroyed. Rather than trying to patch around the construction zone, many Jacksonville homeowners use it as an opportunity to renovate the entire lawn for a uniform, fresh look.
The Best Time for Lawn Renovation in Jacksonville
Timing a lawn renovation correctly is critical in Northeast Florida. Here's the breakdown:
Best: Late March through May
Spring is the ideal window. Soil temperatures are climbing into the 70s and 80s, which means new sod roots aggressively. There's usually enough rain to supplement your irrigation, and you've got the entire growing season ahead for the lawn to establish before winter.
Good: September through early October
Fall is the second-best option. The brutal summer heat is fading, but soil is still warm from months of sun. Sod installed in early fall has 2–3 months of good growing conditions before Jacksonville's mild winter slows things down.
Acceptable: June through August
You can renovate in summer, but be prepared to water heavily. Jacksonville's summer heat (routinely 90°F+ with high humidity) stresses fresh sod, and you'll need to be vigilant about keeping it hydrated during establishment. The upside: grass grows fast in summer heat, so once it roots, it fills in quickly.
Avoid: November through February
Winter renovation is possible but not recommended. Warm-season grasses like St. Augustine and Zoysia go semi-dormant in Jacksonville's winter, and root growth slows dramatically when soil temperatures drop below 65°F. Sod installed in winter will survive but won't actively establish until spring — meaning you're paying for sod that just sits there for months.
Step-by-Step Lawn Renovation Guide
Step 1: Kill the Existing Lawn
Before you remove the old turf, you want to make sure everything — grass, weeds, and all — is dead. This prevents old weeds and grass runners from growing back through your new sod.
Option A: Chemical Kill (Most Effective)
Apply a non-selective herbicide (glyphosate) to the entire lawn. In Jacksonville's warm climate, you'll see results within 7–14 days. Everything should be brown and dead before you move on.
- Apply on a calm, dry day when temperatures are above 60°F
- Don't mow for at least 3 days before or after application — the product needs leaf surface to absorb
- You may need a second application 10–14 days later for stubborn weeds like torpedo grass, doveweed, or thick Bermuda grass runners
- Wait until everything is completely brown before proceeding to removal
Option B: Sod Cutter (Skip the Chemicals)
If you'd rather avoid herbicides, a sod cutter can be used to strip the old turf without chemical treatment. However, this method doesn't kill weed roots and rhizomes below the cutting depth, so there's a higher chance of old weeds returning through the new sod.
Step 2: Remove the Old Turf
Once the old lawn is dead, it needs to come out. You've got two main approaches:
Sod Cutter Rental
A gas-powered sod cutter slices under the old turf at a depth of 1–2 inches, separating it from the soil. You can rent one from equipment rental shops along Philips Highway or Blanding Boulevard. It's hard physical work — these machines are heavy and vibrate like crazy — but it's the most thorough method for DIYers.
Roll up the cut strips and haul them away. For a typical Jacksonville yard (3,000–5,000 square feet), expect this to take most of a day with 2–3 people.
Bobcat or Mini Excavator
For larger yards or severe grading issues, renting a small skid steer makes the job faster. This is also the way to go if you need to remove significant amounts of soil for regrading.
Step 3: Address Drainage and Grading
With the old turf gone, this is your one chance to fix any grading issues. Walk the bare yard after a rain and note where water pools. Common problems in Jacksonville yards include:
- Low spots near the house foundation — grade soil so it slopes away from the structure at least 1 inch per 4 feet
- Standing water in the middle of the yard — fill low areas with clean fill dirt, compacting in layers
- Runoff from neighbor's property — install a French drain or swale to redirect water
If your property needs significant grading work, this is something a professional crew with a Bobcat can handle in a day. Trying to move and level tons of soil with a rake and wheelbarrow is technically possible but brutally slow.
Step 4: Prepare the Soil
Jacksonville's native soils are predominantly sandy, which is actually decent for sod — sand drains well and doesn't compact as heavily as clay. But pure sand is low in nutrients and organic matter, which new sod needs to establish quickly.
Here's what proper soil prep looks like for a Jacksonville lawn renovation:
Test Your Soil
Get a soil test through the Duval County UF/IFAS Extension office. It's inexpensive and tells you your soil's pH, nutrient levels, and organic matter content. Most Jacksonville soils run slightly acidic (pH 5.5–6.5), which is fine for St. Augustine and Zoysia.
Amend as Needed
Based on your soil test:
- Low pH (below 5.5): Apply dolomitic lime to raise it
- Low organic matter: Spread 1–2 inches of quality compost and till it into the top 4–6 inches
- Compacted soil: Core aerate or rototill the top 4–6 inches to loosen
Final Grade
Use a landscape rake to smooth the soil surface. You want it firm but not compacted — footprints should sink about half an inch. The surface should be about 1 inch below the level of adjacent sidewalks and driveways so the new sod sits flush.
Water the Prepared Soil
The evening before sod delivery, water the prepared soil so it's moist but not muddy. This gives the new sod immediate access to moisture at the soil interface.
Read our Jacksonville soil guide for detailed information on Northeast Florida soil conditions and how to improve them.
Step 5: Order and Install New Sod
With your soil prepped and graded, it's time for the main event.
Choosing Your Grass
Pick the variety that matches your yard's conditions:
- Mostly sun (6+ hours): St. Augustine (Floratam, Palmetto, or CitraBlue), Bermuda, or Zoysia
- Partial shade (4–6 hours): St. Augustine (Palmetto, Seville, or CitraBlue) or Zoysia (particularly Empire or Innovation)
- Heavy shade (under 4 hours): St. Augustine (Seville) — but honestly, heavy shade in Jacksonville often means you're better off with shade-tolerant groundcover or mulch beds rather than fighting to keep grass alive
Browse our sod types page for varieties currently available, or use our sod calculator to figure out how much you need.
Installation Day
Schedule your sod delivery for the morning. Lay the sod the same day it arrives. Start along a straight edge (sidewalk, driveway), stagger the seams, push pieces tightly together, and water each section as you go.
After all the sod is laid, roll the entire lawn with a water-filled roller to ensure solid soil contact. Then water deeply — the soil beneath the sod should be moist to a depth of 3–4 inches.
Step 6: Post-Renovation Care
The first 30 days after renovation are the most critical period. Your new sod has zero roots connecting it to the soil — it's surviving entirely on the moisture you provide.
Weeks 1–2: Heavy Watering
Water 2–3 times daily for the first 3 days, then taper to once or twice daily through week two. The goal is to keep the soil consistently moist — not waterlogged, but never dry. In Jacksonville's summer heat, this may mean watering at 6 AM, noon, and 4 PM during the first few days.
Weeks 3–4: Transition to Normal
Reduce watering to every other day, then every third day. By week four, you should be approaching a normal irrigation schedule. The sod should resist pulling — that's how you know roots are establishing.
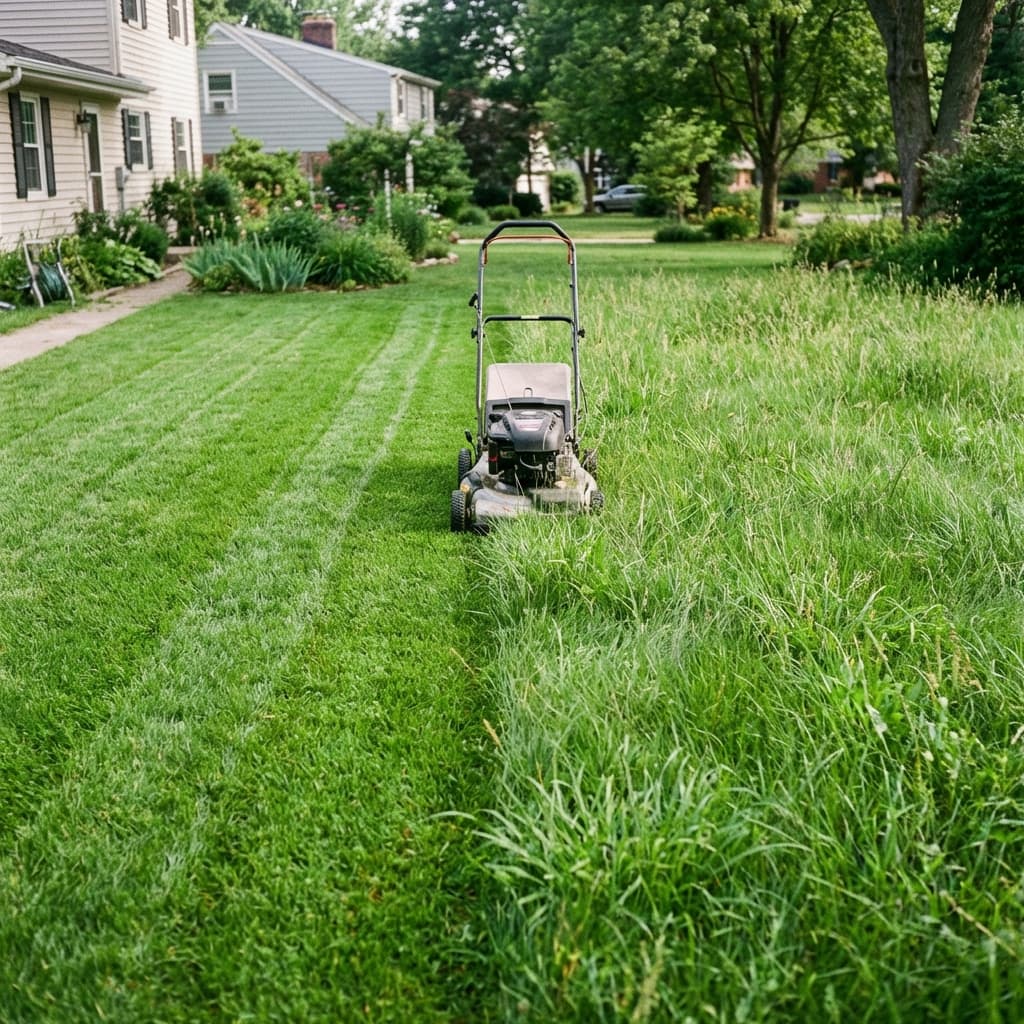
First Mow
Once the sod has rooted (typically 10–14 days in warm weather, longer in winter), mow for the first time. Set your mower at the highest setting — never remove more than one-third of the blade height. For St. Augustine, that means mowing at 4 inches until the lawn is fully established.
For the complete day-by-day schedule, follow our new sod care guide.
DIY Renovation vs. Hiring a Pro
DIY Is Reasonable If:
- Your yard is under 2,000 square feet
- You don't need significant grading work
- You have access to a sod cutter, wheelbarrow, and roller (rentals work fine)
- You have 2–3 helpers for installation day
- You're physically fit and prepared for a very hard day of work
Hire a Professional If:
- Your yard is over 3,000 square feet
- You need drainage corrections or regrading
- You're not sure which grass type to choose
- You want it done right the first time without the risk of DIY mistakes
- You'd rather spend your Saturday doing literally anything else
Jax Sod handles complete lawn renovations across the Jacksonville metro area. We manage the entire process — from removing the old lawn to delivering and installing fresh sod — so you go from tired turf to a brand-new lawn without lifting a finger. Get a free renovation quote here.
Renovation Timeline: What to Expect
Here's a realistic timeline for a full lawn renovation in Jacksonville:
| Phase | DIY Timeline | Professional Timeline | |-------|-------------|----------------------| | Herbicide application | Day 1 | Day 1 | | Wait for kill | 7–14 days | 7–14 days | | Remove old turf | 1–2 days | Half day | | Grade and prep soil | 1–2 days | Half day to 1 day | | Soil amendments and settling | 1–3 days | Same day or next day | | Sod delivery and installation | 1 day | Same day | | Root establishment | 14–21 days | 14–21 days | | First mow | ~Day 35–45 | ~Day 35–45 | | Fully established lawn | 60–90 days | 60–90 days |
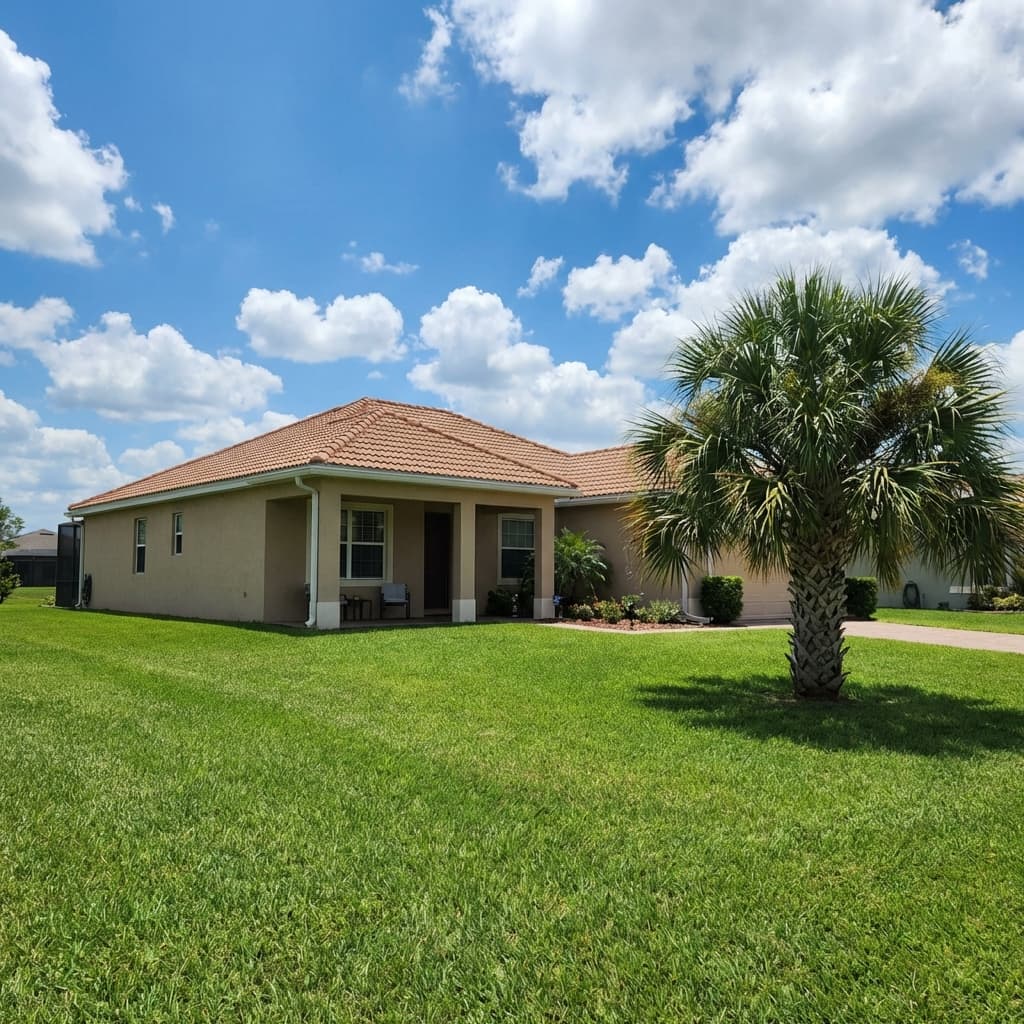
From start to finish, expect roughly 2–3 months before your renovated lawn looks fully established and thick. The result is worth the wait — a uniform, healthy lawn with no weeds, no thatch problems, and a solid root system ready to thrive in Jacksonville's climate.
Frequently Asked Questions
Can I renovate just part of my lawn?
Absolutely. Partial renovation is common — maybe the front yard needs replacement but the backyard is fine, or just the area under a removed tree needs attention. Just make sure the new sod variety matches your existing grass, or you'll end up with a visible patchwork of different textures and colors. Jax Sod can help match varieties to your existing lawn.
How long after renovation before I can use the lawn?
Stay off the new sod as much as possible for the first 2–3 weeks while roots establish. Light foot traffic is okay after the sod passes the "tug test" (you pull on a piece and it resists). Normal use — kids playing, pets running, lawn furniture — is fine after about 4–6 weeks.
Will weeds come back through new sod?
Some weeds may return, especially in the seams between sod pieces. This is normal. Most can be controlled with targeted herbicide once the new sod is established (usually 60+ days after installation). If you killed the old lawn thoroughly before renovation and installed dense, healthy sod, weed pressure will be significantly lower than what you had before.
Should I install new irrigation before or during renovation?
If your irrigation system needs repair or upgrades, do it before the new sod goes down. It's much easier (and cheaper) to repair sprinkler lines and replace heads when the yard is bare soil than after sod is installed. This is also a good time to add zones or adjust head spacing if coverage has been uneven.
How soon after a renovation can I fertilize?
Wait at least 30 days after installation before applying fertilizer, and then start with a slow-release product. Avoid high-nitrogen fertilizer for the first 60 days — the new sod needs to focus on root growth, not blade growth. Check our fertilizer schedule guide for specific timing and products.
Need Professional Sod Installation?
Jax Sod provides sod installation, sod replacement, and new lawn installation across Jacksonville and Northeast Florida. Free quotes!
Related Articles
Lawn Renovation vs New Sod: Which Does Your Jacksonville Yard Need?
Learn when lawn renovation vs new sod Jacksonville makes sense. Cost comparison, timeline, and honest assessment for Northeast Florida homeowners.
How to Edge Your Lawn in Jacksonville: Complete Guide
Master lawn edging techniques for Jacksonville's St. Augustine and Bahia grass. Learn proper tools, timing, and methods for crisp, professional-looking borders.
Lawn Striping Patterns: Making Your Jacksonville Lawn Stand Out
Create professional lawn striping Jacksonville patterns. Learn techniques, equipment, and grass-specific tips for Bermuda, Zoysia, and St. Augustine lawns.
Get Started
Ready for a New Lawn?
Get a free, no-obligation quote from Jax Sod for sod installation, sod replacement, or a new lawn in the Jacksonville area.
(904) 901-1457