Loading...
Back to Articles
How to Prepare Soil for New Sod in Jacksonville, FL: Complete Guide
Soil & Fertilization November 5, 2025 11 min read
For sod, do not apply fertilizer before planting or as an early establishment shortcut. Follow the reviewed new-sod guidance.
Installing new sod is an exciting step toward achieving the lush, green lawn you've always wanted. But here's the truth that many Jacksonville homeowners learn the hard way: the success of your new sod depends far more on what's beneath it than the quality of the grass itself.
Proper soil preparation is the foundation—literally—of a healthy, long-lasting lawn. In Jacksonville's unique climate with our sandy soil conditions, specific challenges, and subtropical weather, preparing your soil correctly before laying sod can mean the difference between a thriving lawn and a disappointing investment.
In this comprehensive guide, we'll walk you through everything you need to know about preparing your Jacksonville soil for new sod, including addressing our region's sandy soil, managing pH levels, choosing the right amendments, and creating the ideal foundation for your new lawn.
Understanding Jacksonville's Unique Soil Conditions
Before you can properly prepare your soil, you need to understand what you're working with. Jacksonville sits in a region characterized by sandy, well-draining soils that present both advantages and challenges for homeowners installing new sod.
Sandy Soil Characteristics
Most Jacksonville properties have predominantly sandy soil, which drains quickly but has limited nutrient retention. While this rapid drainage helps prevent waterlogging during our heavy summer rains, it also means nutrients wash away quickly, and the soil dries out faster than clay-based soils common in other parts of the country.
Sandy soil typically has:
- Low organic matter content
- Limited water retention capacity
- Poor nutrient-holding ability
- Slightly acidic to neutral pH levels
- Excellent drainage and aeration
Why Soil Preparation Matters in Northeast Florida
In Jacksonville's climate, unprepared sandy soil creates several problems for new sod:
- Rapid moisture loss: New sod needs consistent moisture to establish roots, but sandy soil dries out quickly between waterings
- Nutrient deficiency: Essential nutrients leach away with each rain or irrigation
- Poor root establishment: Without proper organic matter, roots struggle to develop the deep, healthy structure needed for long-term lawn health
- pH imbalances: Jacksonville soils often run slightly acidic, which can affect nutrient availability
The good news? With proper preparation, you can transform Jacksonville's challenging sandy soil into an ideal growing medium for beautiful, healthy sod.
Step 1: Test Your Soil
Before making any amendments, you need to know exactly what you're working with. A professional soil test is the most valuable investment you can make before installing new sod.
What a Soil Test Reveals
A comprehensive soil test will tell you:
- Current pH level
- Nutrient content (nitrogen, phosphorus, potassium)
- Organic matter percentage
- Soil texture and composition
- Specific amendment recommendations
Where to Get Your Soil Tested
In Jacksonville, you have several options:
UF/IFAS Extension Office: The University of Florida's Extension Service in Duval County offers affordable soil testing with recommendations specifically tailored to Northeast Florida conditions. This is often the best choice for homeowners because the recommendations account for our local soil and climate.
Local garden centers: Many Jacksonville-area garden supply stores offer soil testing services or sell home testing kits.
Ideal Soil Conditions for Sod in Jacksonville
Your soil test results should ideally show:
- pH level: 6.0 to 7.0 (slightly acidic to neutral)
- Organic matter: At least 3-5%
- Adequate nutrient levels: Balanced NPK appropriate for establishing grass
If your results fall outside these ranges, don't worry—that's exactly why we prepare the soil before installation.
Step 2: Clear and Grade the Area
With your soil test results in hand, it's time to prepare the physical site.
Remove Existing Vegetation
Start by removing all existing grass, weeds, and vegetation from the area where you'll be installing sod. In Jacksonville, you have a few options:
Manual removal: For small areas, you can strip old grass with a flat shovel or sod cutter. This is labor-intensive but gives you complete control.
Herbicide treatment: For larger areas or particularly stubborn weeds like bahiagrass, a non-selective herbicide can be effective. Apply according to package directions and wait the recommended time before proceeding—typically 7-14 days.
Sod cutter rental: For medium to large lawns, renting a sod cutter makes the job much faster and ensures you remove old grass and roots cleanly.
Grade for Proper Drainage
Even though Jacksonville's sandy soil drains well naturally, proper grading ensures water moves away from your home's foundation and prevents low spots where water might pool.
Key grading principles:
- Slope away from structures at a minimum of 1-2% grade (1-2 inches per 10 feet)
- Eliminate low spots and humps for an even surface
- Final grade should be about 1 inch below sidewalks, driveways, and patios (your new sod will add approximately this much height)
Remove Debris
Clear away all rocks, roots, sticks, and debris. In Jacksonville, be particularly watchful for:
- Old tree roots and stumps
- Construction debris (common in newer developments)
- Rocks and shells
- Any organic debris that might create air pockets under your new sod
Step 3: Amend Your Sandy Soil
This is the most critical step for Jacksonville homeowners. Our sandy soil needs significant improvement to support healthy sod establishment.
Adding Organic Matter
Organic matter is the game-changer for Jacksonville's sandy soil. It improves water retention, increases nutrient-holding capacity, and creates better structure for root development.
Best organic amendments for Jacksonville:
Compost: High-quality compost is the gold standard. Apply 2-3 inches across the entire area and till it into the top 4-6 inches of existing soil.
Composted manure: Well-aged, composted manure adds both organic matter and nutrients. Never use fresh manure, as it can burn new grass.
Peat moss or coir: These materials improve water retention but don't add as many nutrients as compost. They work well mixed with compost for optimal results.
Local soil conditioners: Many Jacksonville-area landscape suppliers offer specially formulated soil conditioners designed for our sandy conditions.
Adjusting pH Levels
Based on your soil test results, you may need to adjust pH:
If your soil is too acidic (below 6.0): Add lime to raise the pH. The amount depends on your current pH and soil test recommendations. Garden lime or dolomitic limestone works well for Jacksonville soils.
If your soil is too alkaline (above 7.0): This is less common in Jacksonville, but if needed, sulfur or sulfur-containing amendments can lower pH gradually.
Adding Starter Fertilizer
Look for a formulation with higher phosphorus (the middle number in the NPK ratio) to encourage strong root development. Follow the application rates on the package based on your square footage.
Calculate your lawn's square footage with our sod calculator to determine how much fertilizer and amendments you'll need.
Step 4: Till and Mix Thoroughly
Once you've added amendments, organic matter, and any necessary pH adjusters, it's time to mix everything thoroughly.
Tilling Depth and Technique
For Jacksonville's sandy soil:
- Till to a depth of 4-6 inches
- Make multiple passes in different directions to ensure thorough mixing
- Break up any clumps so the soil texture is uniform
- Avoid over-tilling, which can create a powdery texture that's difficult to work with
When to Skip Deep Tilling
If you're installing sod over a previously maintained lawn area where soil quality is already good, you might only need to lightly till the top 2-3 inches after adding a thin layer of compost or soil conditioner.
Step 5: Level and Firm the Soil
After tilling and mixing, you need to create a smooth, firm surface that's ready to receive new sod.
Creating a Level Surface
Use a landscape rake to level the soil, removing high spots and filling in low areas. The surface should be smooth but not perfectly flat—remember to maintain your drainage slope away from structures.
Firming the Soil Bed
Loose, fluffy soil will settle after sod installation, creating an uneven lawn. Firm the soil using one of these methods:
Lawn roller: A water-filled lawn roller (about one-third full) provides ideal compaction for Jacksonville's sandy soil. Make several passes in different directions.
Manual tamping: For smaller areas, you can walk over the entire area or use a hand tamper to firm the soil.
The footprint test: When you walk on properly firmed soil, your footprint should sink only about ¼ inch deep. If it sinks more, firm it further. If you leave no impression, you've compacted too much.
Step 6: Final Preparations Before Sod Arrives
You're almost ready for your new sod, but these final steps ensure the best possible installation conditions.
Timing Your Preparation
In Jacksonville, timing matters. This prevents:
- Weed seeds from germinating in your prepared soil
- Erosion from afternoon thunderstorms
- Soil drying out and crusting over
Pre-Moistening the Soil
The day before sod installation, lightly water the prepared soil bed. You want the soil to be slightly moist but not muddy when the sod arrives. This helps the new sod's roots make immediate contact with the soil moisture.
Have Your Irrigation Ready
Ensure your irrigation system is working properly, or have hoses and sprinklers positioned and ready. New sod needs water immediately after installation, and you don't want to discover irrigation problems after your sod is already laid.
Choosing the Right Sod for Jacksonville
While soil preparation is crucial, selecting the appropriate grass variety for Jacksonville's climate ensures long-term success. Different sod types have varying soil requirements and tolerances:
St. Augustine: The most popular choice for Jacksonville lawns, St. Augustine thrives in our sandy soil when properly amended and handles our heat, humidity, and partial shade well.
Bahia: Extremely low-maintenance and tolerant of poor soil conditions, bahia is an economical choice for large areas, though it has a coarser texture.
Zoysia: This dense, drought-tolerant grass establishes well in properly prepared Jacksonville soil and requires less maintenance once established.
Bermuda: Great for full-sun areas with high traffic, Bermuda grass grows vigorously in Jacksonville's climate when planted in well-prepared soil.
Each grass type has specific benefits. Explore our sod types page to determine which variety best suits your property's conditions and your maintenance preferences.
Common Soil Preparation Mistakes to Avoid
Learn from others' errors—here are the most common soil preparation mistakes Jacksonville homeowners make:
Skipping the Soil Test
Flying blind without knowing your soil's current condition leads to wasted effort and money on unnecessary amendments or missing critical deficiencies.
Not Adding Enough Organic Matter
Jacksonville's sandy soil is hungry for organic matter. A light dusting won't cut it—you need a substantial 2-3 inch layer tilled into the existing soil.
Poor Drainage Planning
Even in sandy soil, improper grading can create water problems. Always ensure water flows away from structures and eliminate low spots.
Installing Sod on Unprepared Soil
The temptation to skip soil prep and just lay sod on existing sand is strong, but this virtually guarantees poor results. Your sod may look good initially, but it won't establish proper roots or thrive long-term.
Compacting Soil Too Much
While firming is necessary, over-compacting Jacksonville's sandy soil (especially with a heavy, full water roller) can actually impede root growth and reduce drainage.
Professional Soil Preparation Services
While soil preparation is definitely a DIY-friendly project, many Jacksonville homeowners choose professional help for several good reasons:
- Proper equipment: Professional landscapers have industrial tillers, soil conditioners, and grading equipment that make the job faster and more thorough
- Experience with local conditions: Professionals who specialize in Jacksonville lawns understand our specific soil challenges and know exactly which amendments work best
- Physical demands: Soil preparation is labor-intensive work in Jacksonville's heat and humidity
- Time savings: What might take you an entire weekend (or several weekends) can be completed in hours by a professional crew
For a Jax Sod installation, the owner assesses the property and confirms the work during the estimate. Discuss any soil testing, amendments or grading separately from the quoted sod installation.
Maintaining Your Soil After Sod Installation
Proper soil preparation doesn't end when your new sod is laid. Ongoing soil health maintenance ensures your lawn thrives for years to come.
Regular Soil Testing
Test your soil every 2-3 years to monitor nutrient levels and pH, making adjustments as needed.
Annual Top-Dressing
Adding a thin layer (¼-½ inch) of compost annually helps maintain organic matter levels in Jacksonville's sandy soil where organic material breaks down quickly.
Proper Fertilization
Follow a regular fertilization schedule appropriate for your grass type and Jacksonville's climate. Our subtropical conditions mean grass grows nearly year-round, requiring consistent nutrient management.
Core Aeration
Even properly prepared soil can become compacted over time from foot traffic and equipment. Annual or bi-annual core aeration keeps your soil loose and receptive to water, air, and nutrients.
How long does soil preparation take before laying sod in Jacksonville?
For most residential lawns, plan for 1-3 days of soil preparation work depending on your yard's size and current condition. This includes time for clearing vegetation, testing soil (results typically take several days), tilling amendments, grading, and firming. If you're using herbicide to kill existing grass, add another week to the timeline for proper product effectiveness. The key is not rushing—thorough preparation ensures your sod thrives for years.
Do I really need to add compost to Jacksonville's sandy soil, or can I skip it?
Adding organic matter like compost is absolutely essential for Jacksonville's sandy soil—it's not optional if you want your sod to succeed long-term. Sandy soil alone cannot retain adequate moisture or nutrients for healthy grass. The compost acts like a sponge, holding water and nutrients that would otherwise drain away too quickly. Think of it as insurance for your sod investment. Skipping this step is the number one reason new sod fails in Northeast Florida.
Can I prepare soil and install sod during Jacksonville's summer months?
Yes, you can prepare soil and install sod during summer in Jacksonville, but it presents challenges. Summer sod requires more frequent watering due to intense heat and faces greater stress during establishment. If possible, spring (March-May) or fall (September-November) provide easier growing conditions. However, if you need summer installation, ensure your soil preparation is especially thorough—extra organic matter helps retain moisture during our hot, dry spells. Be prepared for vigilant watering during the establishment period.
What's the best way to improve drainage in low-lying Jacksonville yards before sodding?
Low-lying areas in Jacksonville require strategic drainage solutions beyond just soil amendments. Start by regarding to create positive drainage away from structures. For persistent low spots, consider installing French drains or dry wells to redirect water. You can also raise the grade by bringing in additional soil and organic matter—just ensure everything is properly mixed and compacted to prevent settling. In severe cases, consultation with a drainage specialist before sod installation can save you from ongoing problems. Many Jacksonville properties near creeks or the St. Johns River have naturally high water tables, which may require more extensive drainage engineering.
Ready to Install Beautiful, Healthy Sod?
Proper soil preparation is the secret to a gorgeous, thriving Jacksonville lawn that enhances your property's curb appeal and provides a beautiful outdoor space for your family.
While this guide gives you the knowledge to tackle soil prep as a DIY project, we understand that not everyone has the time, equipment, or energy for this labor-intensive work—especially in Jacksonville's heat and humidity.
Jax Sod provides sod installation in Jacksonville and Northeast Florida. The owner assesses the property and confirms the proposed work during an on-site estimate.
The quoted removal process includes spraying weeds, removing old grass and weeds with a sod cutter, hauling the removed material to the dump, and installing sod. Discuss any additional soil or drainage work separately.
Let us handle the hard work while you look forward to the lush, green lawn you've always wanted.
Your dream Jacksonville lawn starts with properly prepared soil—and we're here to make it happen.
Need Professional Sod Installation?
Jax Sod provides sod installation, sod replacement, and new lawn installation across Jacksonville and Northeast Florida. Free quotes!
Related Articles
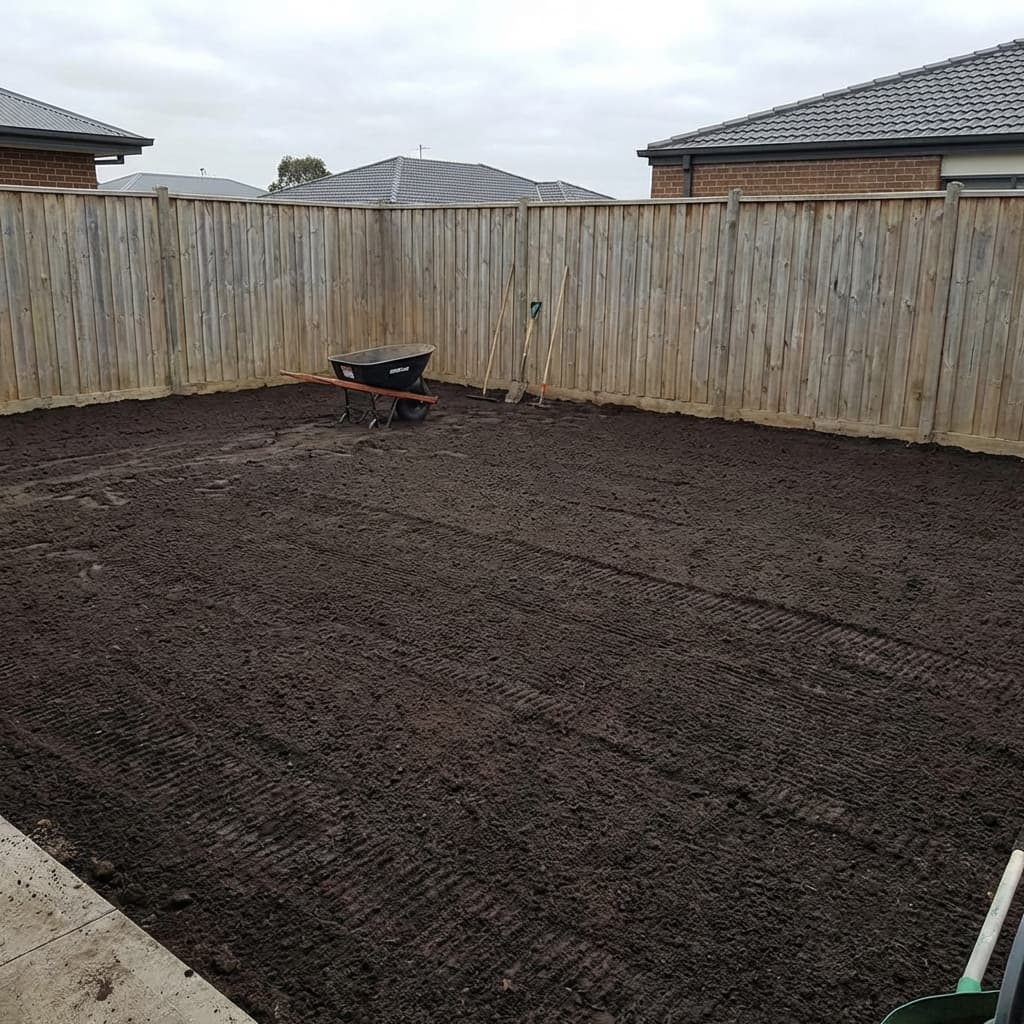
Soil Preparation: The Step Everyone Skips (And Regrets)
Soil Preparation: The Step Everyone Skips (And Regrets). Review the site, scope and current written quote before deciding.
Bartram Park Jacksonville Sod Installation: Complete Guide for New Lawns
Everything you need to know about sod installation in Bartram Park. From soil prep to variety selection, learn how to establish a beautiful new lawn in Jacksonville's climate.
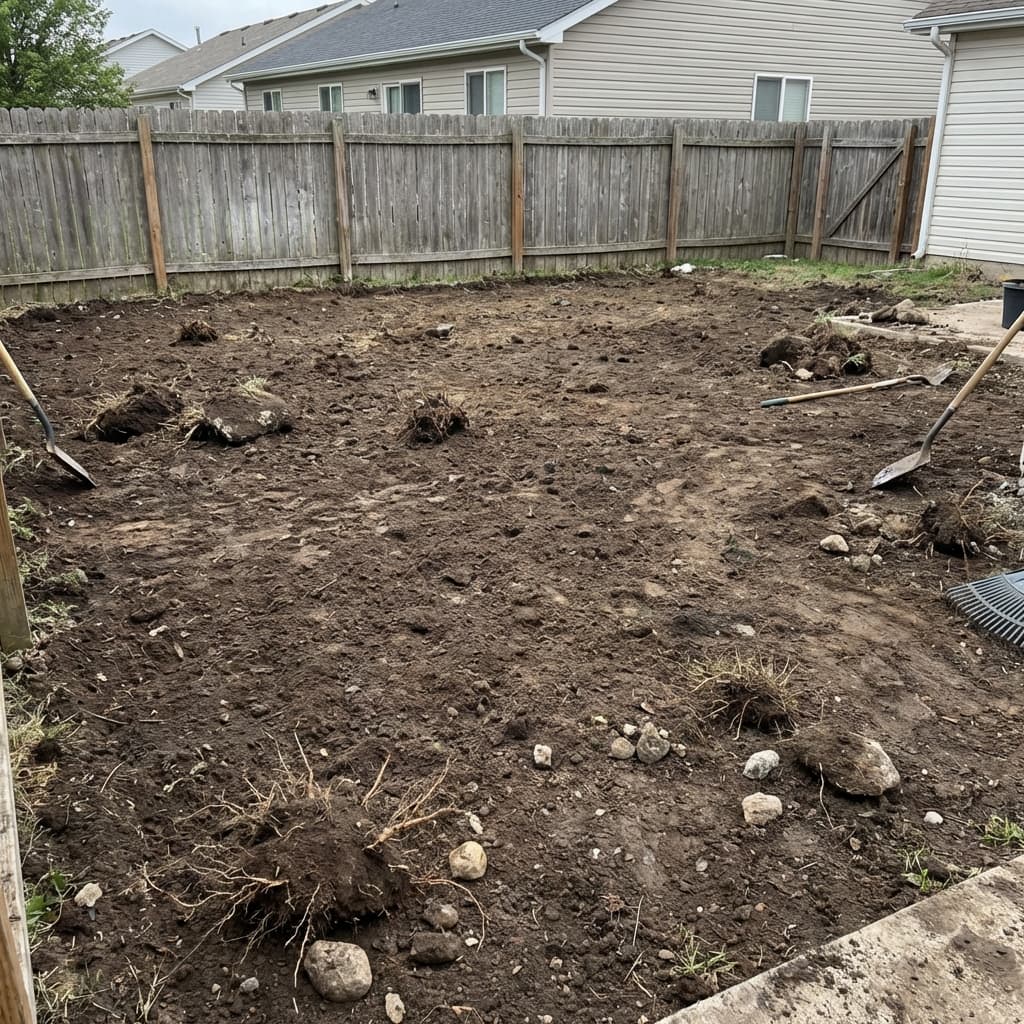
How to Read a Soil Test Jacksonville
Learn how to interpret soil test results for Jacksonville lawns and gardens. Understand pH, nutrients, and amendments needed for Zone 9a/9b sandy and clay soils.
Let’s talk about your lawn
Ask our AI assistant a lawn question, or send the team a free installation estimate request.