Soil Preparation: The Step Everyone Skips (And Regrets)
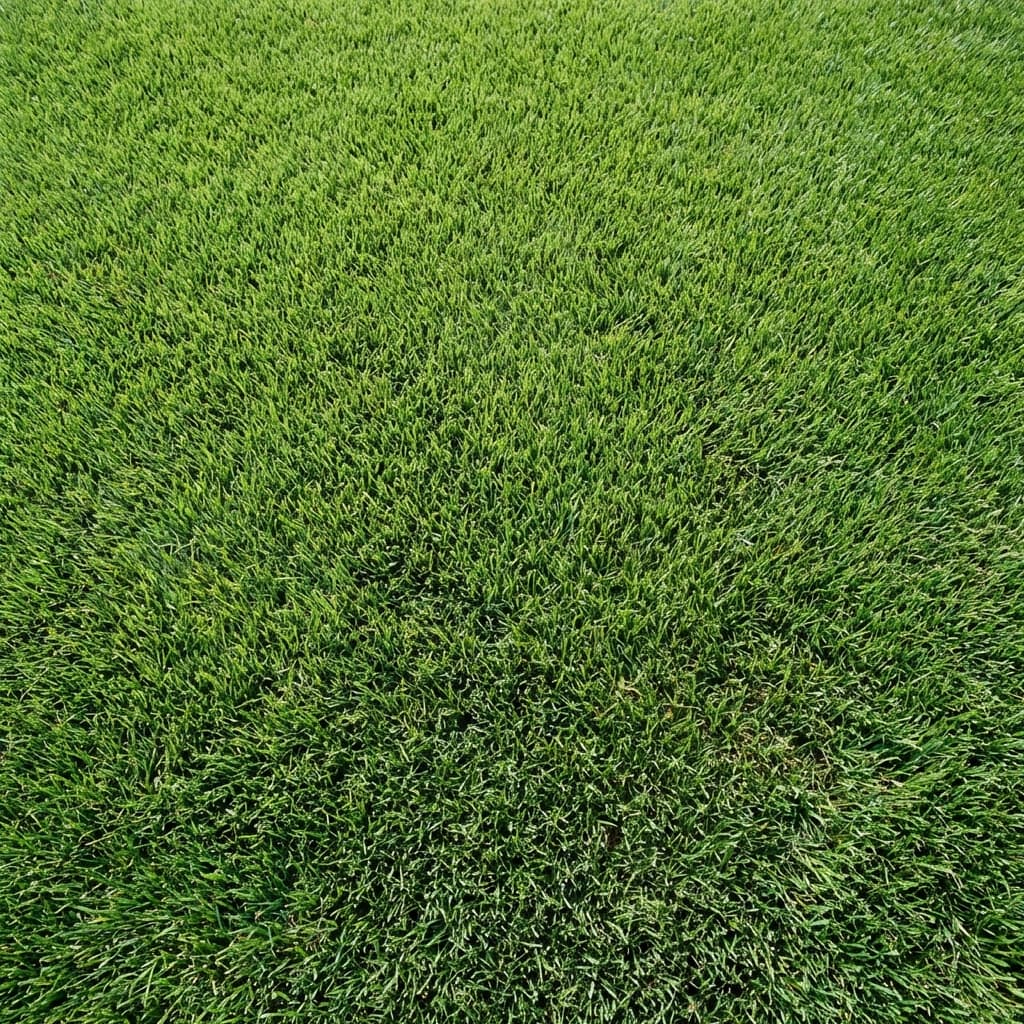
The Unsexy Secret to a Perfect Lawn
Nobody brags about their soil prep at a dinner party. But every landscaping professional knows this truth: the success or failure of your sod is determined before the first piece of grass is ever laid down.
Poor soil preparation is the root cause (pun intended) of most lawn failures we see in Jacksonville. Homeowners invest in premium sod, lay it on unprepared ground, and then blame the grass when it dies. The grass was fine. The foundation was the problem.
Think of it like painting a wall. If you skip sanding and priming, even the most expensive paint will peel. Soil preparation is the "sanding and priming" of lawn installation.
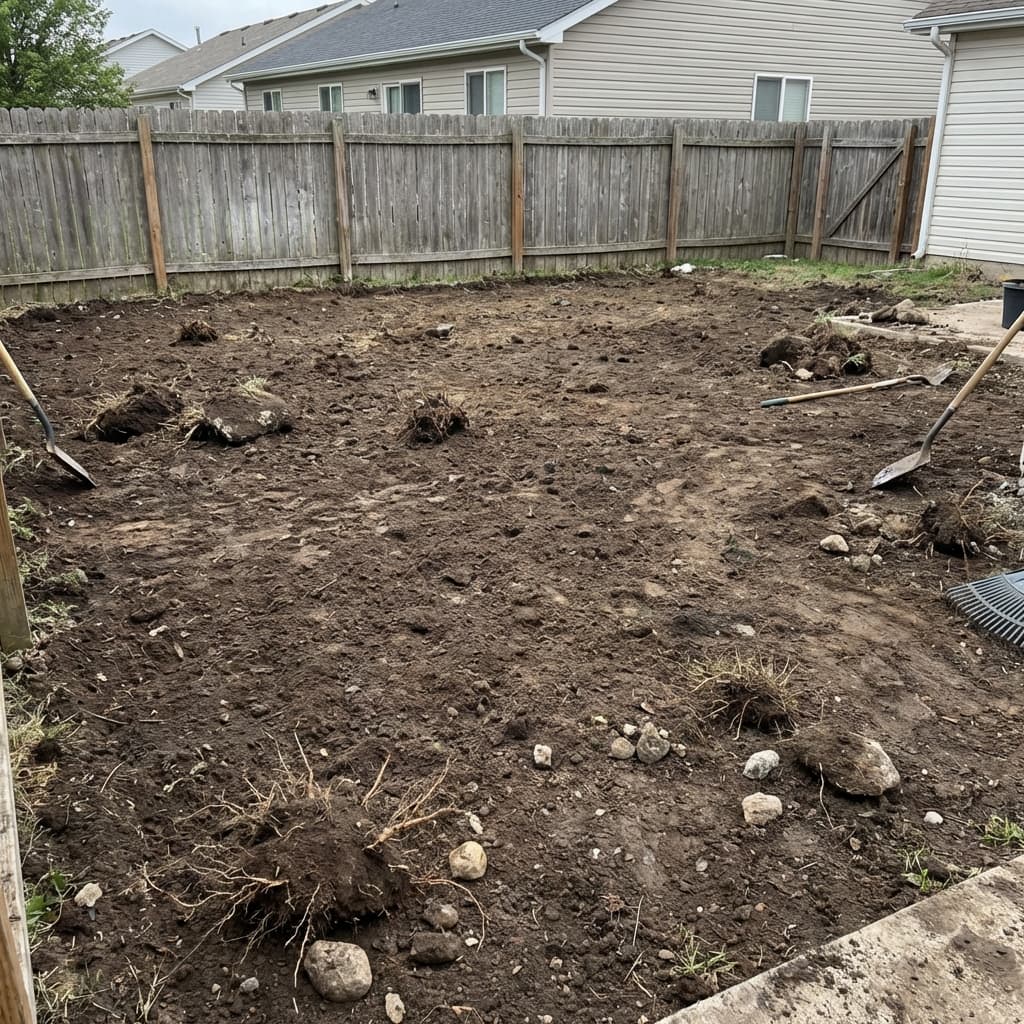
Step 1: Kill and Remove Existing Vegetation
Before anything else, the old lawn, weeds, and debris must be completely removed. We use a commercial sod cutter to strip the old turf down to bare soil. This machine removes the grass and a thin layer of root-bound soil, giving us a clean slate.
Why not just lay new sod on top of old grass? Because the old grass becomes a barrier. It prevents the new sod's roots from making contact with the soil. It also creates an uneven surface and traps moisture, leading to fungal disease. Always start clean.
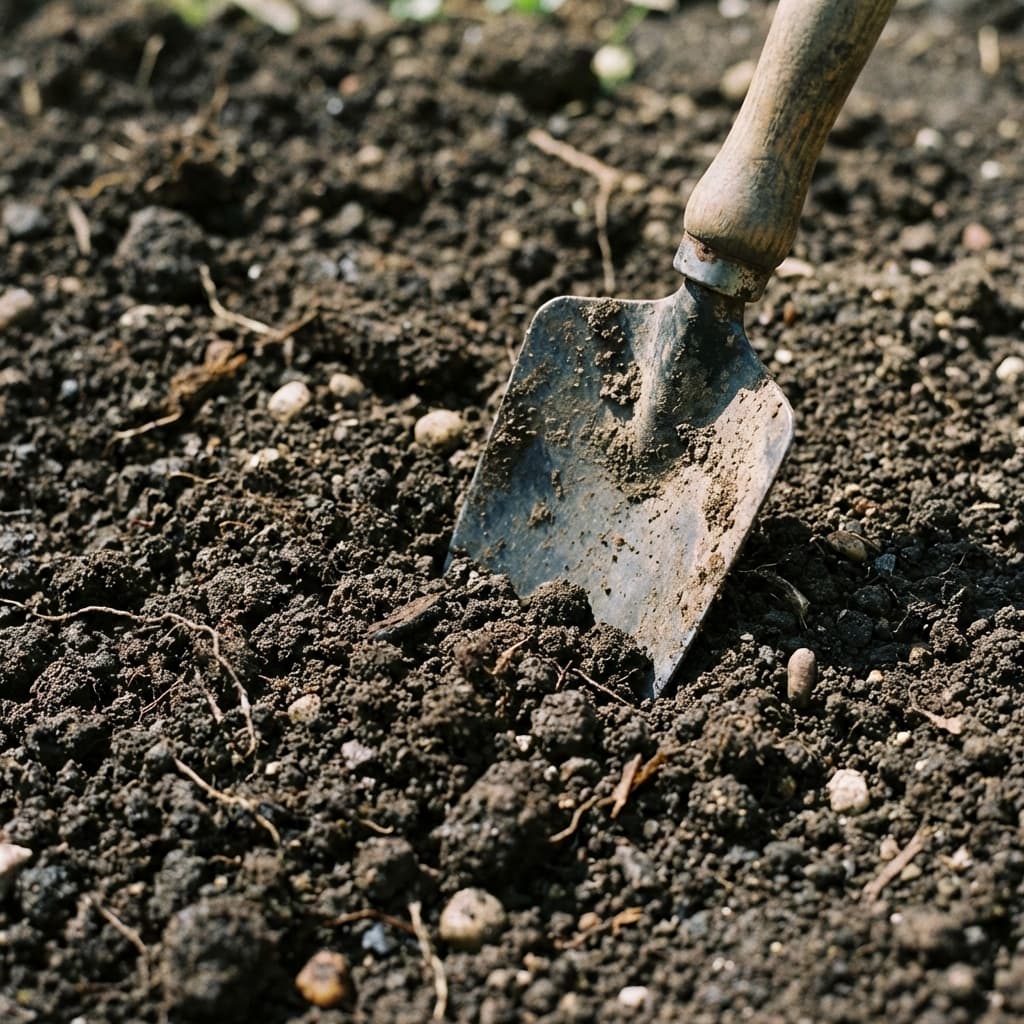
Step 2: Soil Testing (Don't Guess—Test)
A $15 soil test from your local UF/IFAS Extension Office tells you everything you need to know:
- pH Level: Florida soil is often acidic (pH below 6.0). Most sod grasses prefer a pH of 6.0-7.0. If pH is low, we add lime to raise it.
- Nutrient Levels: Nitrogen (N), Phosphorus (P), and Potassium (K) are the "big three." Sandy Florida soil is almost always deficient in all three. The soil test tells us exactly how much fertilizer and what type to apply.
- Organic Matter: Florida's sandy soil has very low organic matter. Adding compost improves water retention, nutrient holding capacity, and microbial life.
Pro Tip: We have seen homeowners dump bags of random fertilizer on their soil without testing first. This is like taking medicine without a diagnosis. Over-fertilizing is just as harmful as under-fertilizing (it can burn roots and contaminate waterways). Always test first.
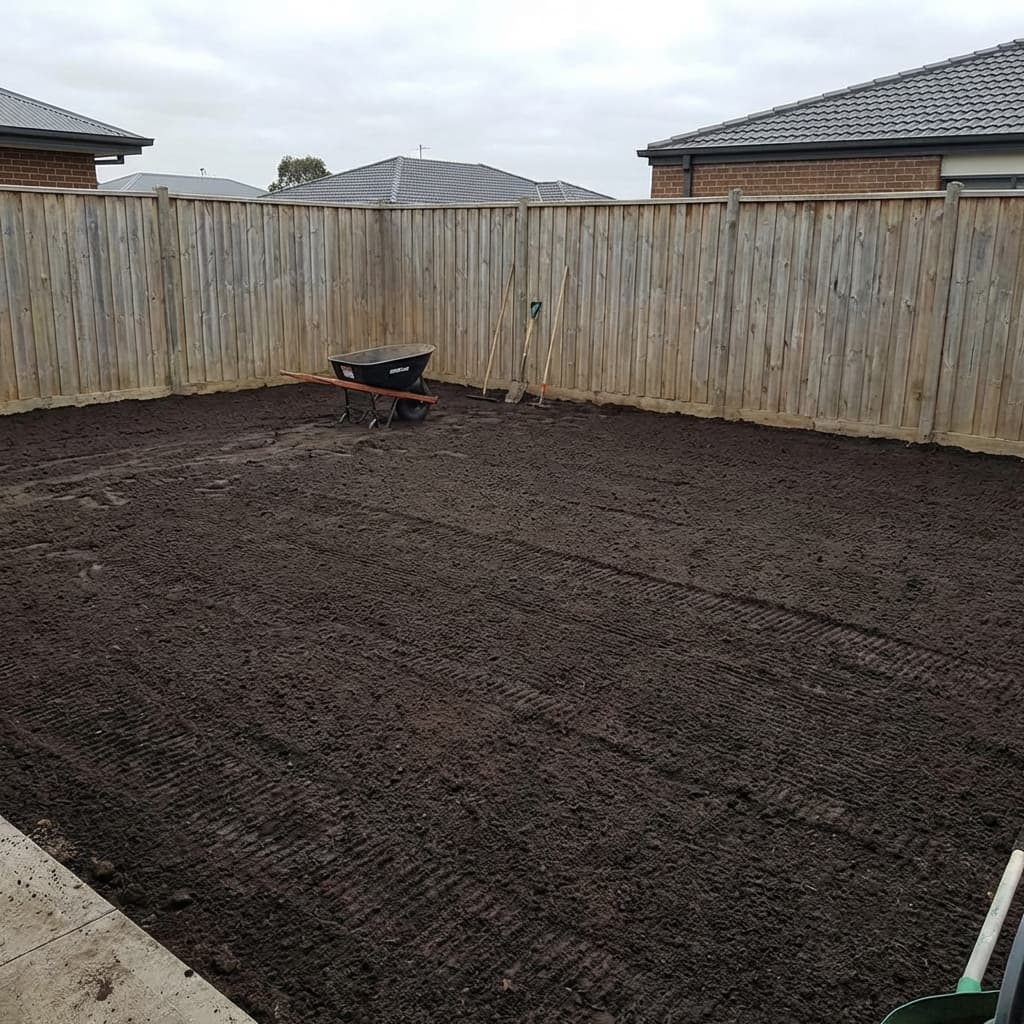
Step 3: Tilling and Amending
Once we know what the soil needs, we till the top 4-6 inches of soil using a rototiller. This does several things:
- Breaks Up Compaction: Jacksonville's clay subsoil (common in areas like Mandarin and Orange Park) packs hard. Roots can't penetrate compacted soil.
- Mixes Amendments: Lime, compost, and starter fertilizer are spread on the surface and then tilled into the soil so they're distributed throughout the root zone, not just sitting on top.
- Creates a Fluffy Bed: Loose soil allows roots to spread easily and water to percolate down instead of running off.
Step 4: Grading for Drainage
This is the step that separates professionals from amateurs. Proper grading directs water away from structures and prevents puddling.
- The ground should slope gently away from your home's foundation (a minimum of 1 inch per 10 feet).
- Low spots must be filled. Standing water kills grass roots within 48 hours (they drown).
- Swales (shallow drainage channels) may need to be created to direct water to the street or drainage system.
We use laser levels and string lines to ensure the grade is correct before laying a single piece of sod. A homeowner eyeballing the grade with a rake will almost certainly create hidden low spots that become mud puddles after every rain.
Step 5: Final Raking and Smoothing
The last step before sod delivery is a final fine-raking to remove any remaining rocks, roots, or clumps. The surface should be smooth and level, with the soil sitting about 1 inch below the level of adjacent sidewalks and driveways. This ensures the finished sod surface will be flush with the hardscape.
Why Jax Sod Invests So Heavily in Prep
Our crews spend more time on soil preparation than on laying the sod itself. It's not glamorous, and no one "sees" it after the grass is down. But we know from years of experience that shortcuts in prep lead to callbacks, unhappy customers, and dead grass.
When you hire Jax Sod, you're paying for the expertise that goes under the green carpet, not just the carpet itself.
Need Professional Sod Installation?
Jax Sod provides sod installation, sod replacement, and new lawn installation across Jacksonville and Northeast Florida. Free quotes!
Related Articles
How to Prepare Soil for New Sod in Jacksonville, FL: Complete Guide
Learn the essential steps to prepare your Jacksonville soil for new sod installation. Expert tips on sandy soil amendments, pH testing, and local conditions for a thriving lawn.
How to Read a Soil Test Jacksonville
Learn how to interpret soil test results for Jacksonville lawns and gardens. Understand pH, nutrients, and amendments needed for Zone 9a/9b sandy and clay soils.
Jacksonville Soil Guide — Understanding Your Lawn's Foundation
Master Jacksonville's sandy soil challenges for better sod growth. Learn soil testing, amendments, pH management, and solutions for Northeast Florida lawns.
Get Started
Ready for a New Lawn?
Get a free, no-obligation quote from Jax Sod for sod installation, sod replacement, or a new lawn in the Jacksonville area.
(904) 901-1457