
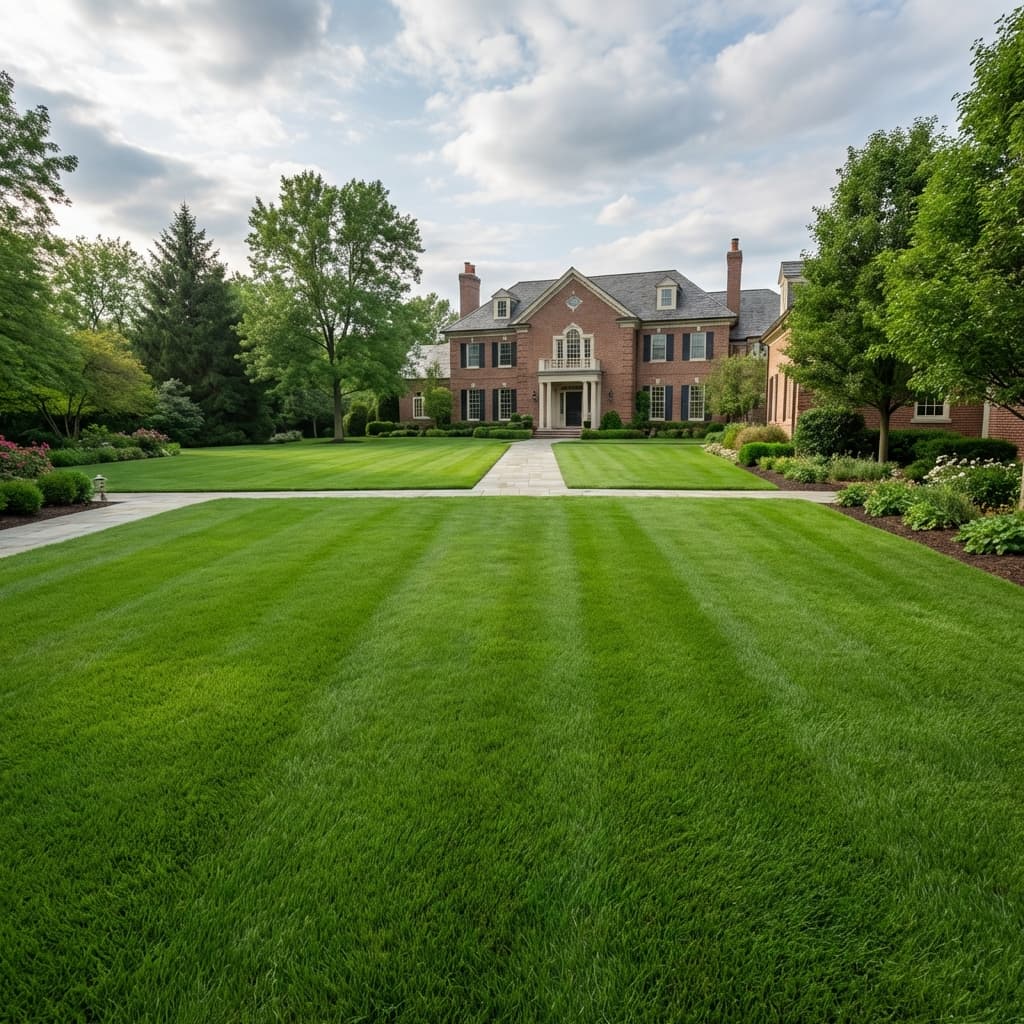
If your St. Augustine lawn feels spongy when you walk on it, or water seems to run off rather than soak in, you probably have a thatch problem. Thatch—that layer of dead grass, roots, and organic material between your turf and the soil—is common in Jacksonville lawns, especially those that are heavily fertilized or rarely aerated.
I've dethatched dozens of lawns across Jacksonville, from compact yards in Springfield to large properties near the St. Johns River. Done correctly, dethatching revitalizes your turf and solves drainage issues. Done wrong, it stresses grass and creates bare patches that take weeks to recover.
What Is Thatch and Why Does It Build Up?
Thatch is the accumulated layer of dead and living organic matter that sits between the green grass blades and the soil surface. A thin layer (less than 1/2 inch) is normal and actually beneficial—it insulates roots, conserves moisture, and cushions the turf.
Problems start when thatch exceeds 1/2 inch. Thick thatch:
- Blocks water and nutrients from reaching roots
- Harbors pests and diseases like chinch bugs and brown patch fungus
- Creates scalping issues when mowing, as mower wheels sink into the soft layer
- Encourages shallow root growth since grass roots stay in the thatch rather than reaching deep into soil
Why Jacksonville Lawns Develop Thatch
Several factors contribute to thatch buildup here:
St. Augustine Growth Habit: St. Augustine is a stoloniferous grass—it spreads via above-ground runners (stolons). These stolons build up faster than they decompose, especially during our long growing season.
Overfertilization: Jacksonville homeowners love feeding their lawns. Too much nitrogen creates excessive growth, overwhelming the natural decomposition process.
Infrequent Mowing: Letting grass get too long before mowing produces large clippings that don't break down quickly. This adds to thatch accumulation.
Sandy Soil: Our sandy soil drains fast and doesn't support huge earthworm populations. Earthworms help break down organic matter—fewer worms mean slower thatch decomposition.
High Humidity: While Florida humidity promotes fungal growth that decomposes organic matter, it also fuels rapid grass growth during summer, often outpacing decomposition rates.
When to Dethatch Your Jacksonville Lawn
Timing is critical. Dethatching is stressful to turf, so you want grass actively growing and able to recover quickly.
Best Months for Dethatching
Late April to Early June: This is the sweet spot. St. Augustine is coming out of dormancy, growth is accelerating, and you have the entire summer for recovery. Temperatures are warm but not brutal yet.
Early September: If you missed the spring window, early September works. Grass is still actively growing, but summer heat is easing off. You'll have fall for recovery before winter dormancy.
Avoid These Times
Late Fall and Winter (November-March): St. Augustine slows or goes dormant in cooler weather. Dethatching during dormancy leaves your lawn vulnerable to weeds, erosion, and cold damage with no ability to recover.
Peak Summer (July-August): Dethatching during Jacksonville's hottest months stresses already heat-stressed grass. Recovery is slower, and you'll need aggressive watering to prevent dieback.
During Drought or Water Restrictions: Dethatched lawns need consistent moisture to recover. If we're under watering restrictions, postpone dethatching until conditions improve.
How to Tell If Your Lawn Needs Dethatching
Not every lawn needs dethatching. Check before you commit:
The Visual Test
Look at your lawn from ground level. If you see a thick, brown, matted layer above the soil surface, that's thatch.
The Finger Test
Push your finger into the turf. If you can't easily reach soil because of a springy, fibrous layer, you've got excess thatch.
The Measurement Test
Use a trowel or spade to cut out a small wedge of turf. Measure the brown layer between green grass and soil. If it's over 1/2 inch thick, dethatching will help.
The Water Test
Water your lawn and observe. Does water pool on the surface or run off without soaking in? Thick thatch creates a hydrophobic barrier that repels water.
Tools for Dethatching
Manual Dethatching Rake
A dethatching rake has sharp, curved tines designed to pull thatch to the surface. It's like a regular rake but more aggressive.
Pros: Inexpensive, quiet, good for small areas or spot treatment
Cons: Physically exhausting, impractical for lawns over 1,000 square feet
Best for: Small yards in Murray Hill or Riverside, spot-dethatching problem areas
Power Dethatcher (Vertical Mower)
A power dethatcher—often called a "verticutter"—has vertical blades that spin and slice through thatch, pulling it to the surface. Some models also have spring tines instead of blades.
Pros: Fast, effective, adjustable depth settings
Cons: Expensive to buy (though rentable), heavy, requires some skill to operate
Best for: Medium to large lawns, annual maintenance
Available for rent at most equipment rental places on San Jose Boulevard or Atlantic Boulevard.
Core Aerator (Alternative/Complementary Tool)
Core aerators pull plugs of soil from the lawn, reducing compaction and improving drainage. While not technically dethatching, aeration helps reduce thatch buildup over time by improving decomposition.
Many Jacksonville lawn services combine dethatching and aeration in spring for maximum benefit.
Step-by-Step Dethatching Process
Step 1: Mow Your Lawn Short
Mow at least two days before dethatching. Cut St. Augustine down to about 2.5-3 inches—shorter than your normal 3.5-4 inch summer height.
This exposes the thatch layer and makes it easier for the dethatcher to reach it without getting tangled in tall grass blades.
Bag the clippings rather than mulching them. You don't want extra organic matter sitting on the lawn going into dethatching.
Step 2: Water the Lawn
Dethatch when soil is slightly moist but not saturated. Water thoroughly the day before if your lawn is dry. This softens the soil and makes thatch easier to pull up.
Avoid dethatching when soil is bone-dry (blades bounce off the hard surface) or soaking wet (you'll create ruts and damage roots).
Step 3: Set Up Your Equipment
If Using a Power Dethatcher:
- Adjust blade depth to 1/2 inch below the soil surface for heavy thatch, or 1/4 inch for moderate thatch
- Test on an inconspicuous area first (like along a fence line) to ensure you're not cutting too deep
- Check that blades are sharp—dull blades tear grass rather than slicing cleanly
If Using a Manual Rake:
- Ensure tines are sharp and undamaged
- Plan to work in sections, taking breaks as needed
Step 4: Dethatch the Lawn
Power Dethatcher Technique:
- Work in straight, overlapping rows, similar to mowing
- Make one pass in a north-south direction, then a second pass east-west (cross-hatching) for severe thatch
- Walk at a steady pace—too fast misses thatch; too slow damages grass
- Empty the collection bag frequently (if your model has one)
Manual Rake Technique:
- Work in sections, raking vigorously in one direction
- Use a pulling motion to lift thatch to the surface
- Rake debris into piles for easy removal
Step 5: Remove the Thatch
You'll end up with piles of brown, matted organic material—sometimes shocking amounts.
Removal Options:
- Rake into piles and bag for yard waste pickup
- Use a lawn vacuum or bagger attachment on your mower to collect loose thatch
- Compost if you have space, though St. Augustine stolons are slow to break down
In my experience, a typical 5,000-square-foot Jacksonville lawn with moderate thatch produces 10-15 bags of debris.
Step 6: Overseed or Plug (Optional)
St. Augustine doesn't grow from seed, so traditional overseeding doesn't work. However, if dethatching created thin or bare spots, you can:
- Plant St. Augustine plugs in gaps
- Lay small sections of sod in severely damaged areas
- Let existing grass spread naturally (this works if bare spots are small and surrounded by healthy turf)
For Bahia lawns, you can overseed with Bahia seed after dethatching. Spring and early summer are ideal for germination.
Step 7: Fertilize and Water
After dethatching, your lawn needs help recovering:
Fertilize: Apply a balanced fertilizer (like 16-4-8 or 15-0-15) within a week of dethatching. This promotes new growth and helps grass fill in quickly. Jacksonville's sandy soil leaches nutrients fast, so fertilization is essential.
Water: Water deeply but infrequently—about 1 inch per week, including rainfall. Newly dethatched lawns need consistent moisture to establish new roots.
Avoid overwatering, which promotes fungal diseases. St. Augustine is prone to gray leaf spot and brown patch during humid weather.
Step 8: Avoid Foot Traffic
Keep people, pets, and lawn equipment off the dethatched lawn for at least a week. Grass needs time to recover without additional stress.
This can be tough if you have kids or dogs, but even temporary fencing or stakes with string helps remind everyone to stay off.
Post-Dethatching Lawn Care
Mowing
Wait 10-14 days before mowing again. When you do mow, use a sharp blade and avoid cutting more than 1/3 of the grass blade height.
Return to your normal St. Augustine mowing height (3.5-4 inches) gradually over several mowings.
Watering Schedule
For the first 3-4 weeks after dethatching, water more frequently than usual:
- Week 1-2: Water every 2-3 days, about 1/2 inch each time
- Week 3-4: Transition to twice per week, 1 inch per session
- After Week 4: Return to your normal schedule based on rainfall and season
Remember Jacksonville's watering restrictions—odd-numbered addresses water Wednesday and Saturday; even-numbered addresses water Thursday and Sunday.
Weed Control
Dethatching opens up the lawn, giving weed seeds (crabgrass, dollarweed, spurge) a chance to germinate. Apply a pre-emergent herbicide 7-10 days after dethatching to prevent weed invasions.
If weeds do pop up, spot-treat with post-emergent herbicide rather than broadcasting across the entire lawn. Dethatched grass is sensitive and can be damaged by aggressive chemical applications.
Jacksonville-Specific Considerations
Sandy Soil and Root Depth
Our sandy soil drains so quickly that shallow-rooted grass suffers during dry spells. Dethatching encourages deeper root growth by allowing water and nutrients to penetrate the soil surface.
After dethatching, roots should extend 4-6 inches deep within a month, making your lawn more drought-tolerant.
Humidity and Fungal Diseases
Jacksonville's humidity creates ideal conditions for fungal diseases, especially on stressed turf. After dethatching:
- Water early in the morning (4-8 AM) so grass dries before evening
- Avoid evening watering, which leaves grass wet overnight
- Watch for symptoms like circular brown patches or gray, fuzzy growth on blades
If fungus appears, treat with a fungicide labeled for St. Augustine grass.
Chinch Bugs and Pests
Thick thatch harbors chinch bugs, the most destructive pest in Jacksonville lawns. These tiny insects suck sap from grass, causing yellowing and dieback.
Dethatching removes their habitat. If you've had chinch bug issues in the past, inspect your lawn carefully after dethatching and treat if you see adults or nymphs.
Fertilization and Growth Rates
Our long growing season (March-October) means St. Augustine can recover quickly from dethatching—if properly fertilized. Jacksonville's sandy soil doesn't hold nutrients, so plan for fertilizer applications every 6-8 weeks during the growing season.
Avoid high-nitrogen fertilizers immediately after dethatching. Use a balanced formula to promote root growth, not just blade growth.
Preventing Future Thatch Buildup
Dethatching is hard work. To minimize how often you need to do it:
Mow Regularly
Mow every 7-10 days during peak growing season. Frequent mowing produces small clippings that decompose quickly.
Use a mulching mower to chop clippings finely, speeding decomposition.
Avoid Overfertilizing
More fertilizer doesn't always mean better grass. Overfertilization promotes excessive top growth, increasing thatch buildup.
Follow a regular fertilization schedule—typically 4 times per year for St. Augustine in Jacksonville (early spring, late spring, summer, early fall).
Aerate Annually
Core aeration improves soil structure, reduces compaction, and enhances microbial activity. More active soil life = faster thatch decomposition.
Aerate in spring or early summer, similar timing to dethatching.
Water Deeply but Infrequently
Shallow, frequent watering promotes shallow root systems and thatch accumulation. Instead, water deeply (1 inch) once or twice per week.
Deep watering encourages roots to grow into the soil, not just the thatch layer.
Test and Amend Soil pH
Jacksonville soil tends to be acidic (pH 5.5-6.5). St. Augustine prefers slightly acidic to neutral soil (pH 6.0-7.0).
Test your soil every 2-3 years. If pH is too low, apply lime to raise it. Proper pH supports microbial activity that breaks down thatch.
Common Dethatching Mistakes
Dethatching Too Often: Dethatching every year stresses grass unnecessarily. Most Jacksonville lawns only need dethatching every 2-3 years.
Cutting Too Deep: Aggressive dethatching that cuts into soil damages roots and creates bare spots. Aim for 1/4 to 1/2 inch depth.
Dethatching During Dormancy: Dethatching St. Augustine in winter or late fall removes protective insulation without giving grass a chance to recover.
Skipping Post-Dethatching Care: Dethatching without follow-up fertilization and watering leads to slow recovery and weed invasions.
Using Dull Blades: Dull dethatcher blades tear grass instead of slicing cleanly, causing more damage than necessary.
Professional vs. DIY Dethatching
Dethatching is doable as a DIY project, but it's labor-intensive and requires renting specialized equipment.
Consider DIY if:
- You have a small to medium-sized lawn (under 5,000 square feet)
- You're comfortable operating power equipment
- You can dedicate a full day to the project
Consider hiring a professional if:
- You have a large property
- Your lawn has severe thatch (over 1 inch thick)
- You have physical limitations
- You want to combine dethatching with aeration and fertilization
Professional lawn services in Jacksonville typically include dethatching as part of spring lawn rejuvenation packages.
Final Thoughts
Dethatching your Jacksonville lawn might seem drastic when you're pulling up piles of brown, matted material, but the results speak for themselves. Within a few weeks, you'll notice better water absorption, healthier green-up, and a lawn that feels firmer underfoot rather than spongy.
St. Augustine builds thatch faster than most grasses, especially in our warm, humid climate with long growing seasons. Stay on top of it with regular mowing, proper fertilization, and occasional core aeration.
And when it's time to dethatch again in 2-3 years, you'll know exactly what to do—and you'll appreciate the difference a healthy, thatch-free lawn makes.
Need Professional Sod Installation?
Jax Sod provides sod installation, sod replacement, and new lawn installation across Jacksonville and Northeast Florida. Free quotes!
Related Articles
5 Signs Your Lawn Needs to Be Replaced (Not Just Repaired)
Is your lawn beyond saving? Learn when it makes more sense to start fresh with new sod instead of fighting a losing battle with repairs.
Arlington Jacksonville Lawn Care
Complete lawn care guide for Arlington Jacksonville. Expert advice for maintaining healthy grass in one of Jacksonville's most established neighborhoods.

August Lawn Care Jacksonville FL: Managing Peak Stress Season
Expert August lawn care tips for Jacksonville's toughest month. Strategies to help your lawn survive extreme heat, humidity, and afternoon storms.
Get Started
Ready for a New Lawn?
Get a free, no-obligation quote from Jax Sod for sod installation, sod replacement, or a new lawn in the Jacksonville area.
(904) 901-1457