How to Install a Sprinkler System in Jacksonville
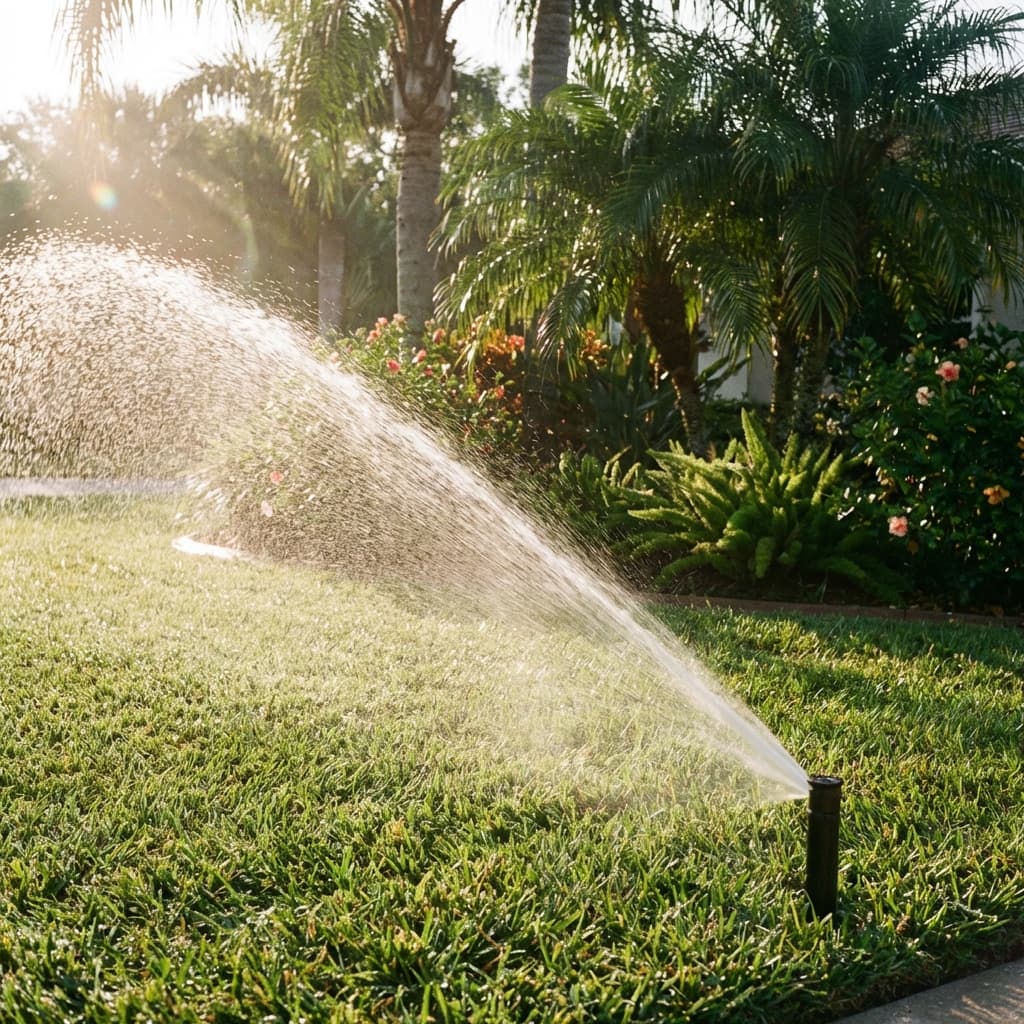
If you've spent any time maintaining a lawn in Jacksonville, you know the drill—hot, humid summers that bake everything in sight, followed by random afternoon thunderstorms that either flood your yard or skip your neighborhood entirely. Installing a sprinkler system takes the guesswork out of watering and keeps your St. Augustine or Bahia grass thriving year-round.
I've installed dozens of systems across Jacksonville, from compact yards in Riverside to sprawling properties in Ponte Vedra Beach. This guide walks you through the entire process, tailored specifically to our sandy soil and zone 9a/9b climate.
Why Jacksonville Lawns Need Proper Irrigation
Our sandy soil drains fast—really fast. Water your lawn in the morning, and by afternoon it's like you never turned on the hose. That's great for preventing fungal issues, but terrible for water retention. A well-designed sprinkler system delivers consistent moisture at the root level without drowning your grass or wasting water.
St. Augustine, the most common turf in Jacksonville, needs about 1-1.5 inches of water per week during the growing season. Bahia grass is more drought-tolerant but still benefits from regular watering. Without an irrigation system, you're either overwatering (hello, dollar spot fungus) or underwatering (hello, brown patches).
Planning Your Sprinkler System Layout
Before you dig a single trench, map out your property. Walk around with a notebook and sketch your yard, marking:
- Turf areas: Separate St. Augustine from Bahia if you have both
- Garden beds: Azaleas, camellias, and ornamentals need different coverage than grass
- Obstacles: Trees, sidewalks, driveways, AC units
- Water source: Locate your main water line and meter
- Slopes and low spots: Water runoff is real here, especially during summer storms
Jacksonville properties vary wildly. A flat yard in Mandarin behaves differently than a sloped lot in Avondale. Your system should account for these variations.
Understanding Sprinkler Zones
Zones are the backbone of an efficient system. Each zone runs independently, allowing you to customize water delivery based on sun exposure, soil type, and plant needs.
How Many Zones Do You Need?
Most residential properties in Jacksonville need 3-5 zones:
- Front lawn: Usually gets full sun and needs regular watering
- Backyard turf: May have partial shade from oak trees or fences
- Shrub and flower beds: Drip irrigation or low-flow sprays
- Side yards: Often drier or shadier depending on your home's orientation
Calculate water pressure and flow rate to determine zone capacity. Jacksonville's municipal water pressure typically runs between 40-70 PSI. You'll need at least 30 PSI at each sprinkler head for proper coverage.
Choosing Sprinkler Heads
For Jacksonville lawns, I recommend:
- Pop-up spray heads: Perfect for smaller areas, flower beds, and tight corners. They spray a fixed pattern and work well in zones under 15 feet.
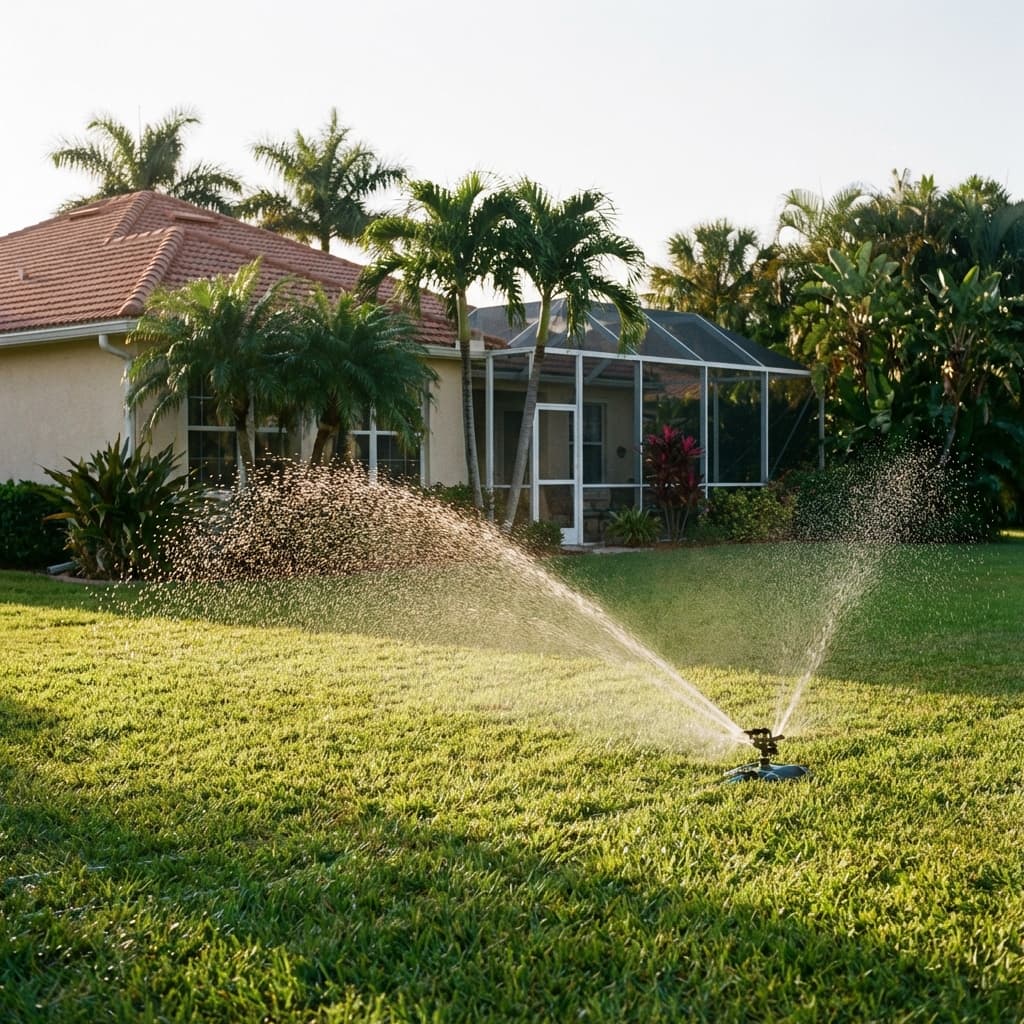
- Rotor heads: Better for larger turf areas. They rotate to cover more ground and are more water-efficient for open lawns.
- Drip lines: Use these in garden beds around palms, azaleas, and hydrangeas. They deliver water directly to the root zone without wetting foliage.
Avoid mixing spray heads and rotors in the same zone—they have different precipitation rates and will cause uneven watering.
Gathering Materials and Tools
Here's what you'll need for a typical Jacksonville installation:
Materials:
- PVC pipes (1-inch mainline, 3/4-inch laterals)
- PVC fittings (elbows, tees, couplers)
- Sprinkler heads (spray, rotor, or drip)
- Sprinkler valves (one per zone)
- Backflow preventer (required by Jacksonville code)
- Valve box and manifold
- Wire (18-gauge multi-strand for valve connections)
- Controller/timer
- PVC primer and cement
- Teflon tape
Tools:
- Trenching shovel or rented trencher
- PVC pipe cutter
- Measuring tape
- String and stakes
- Hacksaw or reciprocating saw
- Screwdriver set
- Wire strippers
Most materials are available at local hardware stores, though I've found better selection at irrigation specialty shops on Philips Highway.
Step-by-Step Installation Process
Step 1: Mark Your Layout
Use spray paint or flags to mark where each sprinkler head will go. Measure spacing carefully:
- Spray heads: 8-15 feet apart
- Rotor heads: 15-30 feet apart
Overlap coverage by about 50% to prevent dry spots. Jacksonville's wind can push water around, especially in open yards near the beaches.
Step 2: Dig Trenches
Trenches for mainlines should be 8-12 inches deep. Lateral lines (connecting sprinkler heads) can be 6-8 inches. Our sandy soil makes digging easier than clay-heavy areas, but watch out for roots if you're working around oak or magnolia trees.
If you're trenching near sidewalks or driveways, you'll need to bore underneath rather than cut through concrete. Rent a boring tool or hire a professional for this part.
Step 3: Install the Backflow Preventer
Jacksonville requires backflow prevention to protect the municipal water supply. Install an approved backflow preventer near your water meter or main shut-off valve. This prevents irrigation water from flowing back into the drinking water system.
Position it at least 12 inches above ground level and make sure it's accessible for annual inspections.
Step 4: Lay the Mainline
Run your 1-inch PVC mainline from the water source to your valve manifold location. Choose a spot that's central to all zones—often near the side of the house or garage.
Cut PVC to length, apply primer, then cement, and connect fittings. Work quickly; PVC cement sets fast in Jacksonville's heat.
Step 5: Install Zone Valves
Mount valves in a valve box, which protects them from weather and lawn equipment. Each zone gets its own valve, controlled by the timer. Wire each valve to the controller using 18-gauge wire, running it through underground conduit if possible.
Label each valve clearly—trust me, you'll thank yourself later when troubleshooting.
Step 6: Connect Lateral Lines
Run 3/4-inch PVC from each valve to the sprinkler head locations. Use tees or elbows to branch off to multiple heads per zone. Install funny pipe (flexible riser tubing) between the PVC and sprinkler heads. This allows for adjustment and prevents damage if you hit a head with the mower.
Step 7: Install Sprinkler Heads
Screw each head onto the funny pipe riser, adjusting height so the head sits flush with the soil surface. In turf areas, heads should pop up when pressurized but remain hidden when off.
For garden beds, use shrub risers to elevate spray heads above mulch and foliage.
Step 8: Flush the System
Before connecting sprinkler heads, flush each zone by running water through the open pipes. This clears out dirt, sand, and debris that could clog the heads.
Jacksonville's sandy soil means you'll get a lot of sediment—let water run until it's clear.
Step 9: Set Up the Controller
Mount your controller in a garage, shed, or covered area. Program each zone based on plant needs and sun exposure:
- Full-sun turf: 30-40 minutes, 2-3 times per week
- Shaded areas: 20-30 minutes, 1-2 times per week
- Garden beds with drip: 20-30 minutes, 2-3 times per week
Adjust seasonally. In winter, Jacksonville lawns need far less water—sometimes none at all if we get regular rain.
Step 10: Test and Adjust
Run each zone manually and check for:
- Coverage gaps: Adjust head angles or add more heads if needed
- Overspray: Hitting sidewalks, driveways, or your neighbor's yard
- Pressure issues: Heads not popping up or spraying weakly
- Leaks: Check all fittings and connections
Walk the entire system while it's running. It's easier to fix issues now than after you've backfilled trenches.
Step 11: Backfill and Clean Up
Once everything works, backfill trenches with the excavated soil. Tamp it down lightly—you don't want settling that creates low spots in your lawn.
Rake out the areas where you trenched and overseed or lay sod if needed. St. Augustine doesn't grow from seed, so you'll need plugs or sod to fill in.
Jacksonville-Specific Considerations
Sandy Soil Challenges
Our soil drains so quickly that shallow watering doesn't help. Set your system to deliver water deeply but less frequently. This encourages roots to grow deeper, making your lawn more drought-resistant.
Avoid watering between 10 AM and 4 PM when evaporation is highest. Early morning (4-8 AM) is ideal.
Summer Heat and Humidity
June through September is brutal. Your lawn will need more water, but watch for overwatering signs like mushrooms, spongy turf, or fungal patches. If we're getting afternoon storms every day, dial back your schedule.
Water Restrictions
St. Johns River Water Management District regulates irrigation schedules. Currently, Jacksonville properties can water twice per week based on address:
- Odd addresses: Wednesday and Saturday
- Even addresses: Thursday and Sunday
Check current regulations before programming your controller.
Hurricane Preparedness
Storms can damage exposed sprinkler components. After a hurricane, inspect heads for debris, check valves for water intrusion, and test zones for leaks.
Maintenance Tips
A sprinkler system isn't "install and forget." Plan for:
- Seasonal adjustments: Reduce watering in fall and winter
- Head cleaning: Clear sand and grass clippings from nozzles monthly
- Backflow testing: Required annually by Jacksonville
- Winterizing: Not necessary here, but check for freezes if we get a rare cold snap
Replace damaged heads immediately. A broken head wastes hundreds of gallons of water and creates swampy spots that attract mosquitoes.
When to Call a Professional
DIY installation works for straightforward yards, but consider hiring help if you have:
- Large properties (over 10,000 square feet)
- Complex grading or drainage issues
- Underground utilities (call 811 before digging)
- Rock or clay beneath the sand layer
- Limited time or physical ability to dig trenches
A professional installer in Jacksonville typically takes 1-2 days for a full system, including permitting and inspection if required.
Final Thoughts
Installing a sprinkler system in Jacksonville is a weekend project that pays off for years. You'll save time, water, and frustration while keeping your lawn green through summer's worst heat.
Take your time with planning and layout. A well-designed system works with our climate and soil, not against it. And if you hit a snag—whether it's a stubborn oak root or a wonky valve—take a break, reassess, and keep going.
Your lawn will thank you every time that St. Augustine stays emerald green while your neighbor's turns brown in July.
Need Professional Sod Installation?
Jax Sod provides sod installation, sod replacement, and new lawn installation across Jacksonville and Northeast Florida. Free quotes!
Related Articles
Sprinkler System Winterization Jacksonville
Do Jacksonville irrigation systems need winterization? Learn about freeze protection, system maintenance, and winter prep for Zone 9a/9b sprinkler systems.
How to Repair a Sprinkler Head Jacksonville
Step-by-step guide to diagnosing and fixing broken sprinkler heads in Jacksonville. Learn to identify common issues, choose the right replacement parts, and complete repairs yourself.
Smart Sprinkler Controller Setup Jacksonville
Install and configure smart irrigation controllers in Jacksonville. WiFi setup, weather-based scheduling, zone optimization for Zone 9a/9b lawns and gardens.
Get Started
Ready for a New Lawn?
Get a free, no-obligation quote from Jax Sod for sod installation, sod replacement, or a new lawn in the Jacksonville area.
(904) 901-1457