Drip Irrigation for Gardens Jacksonville
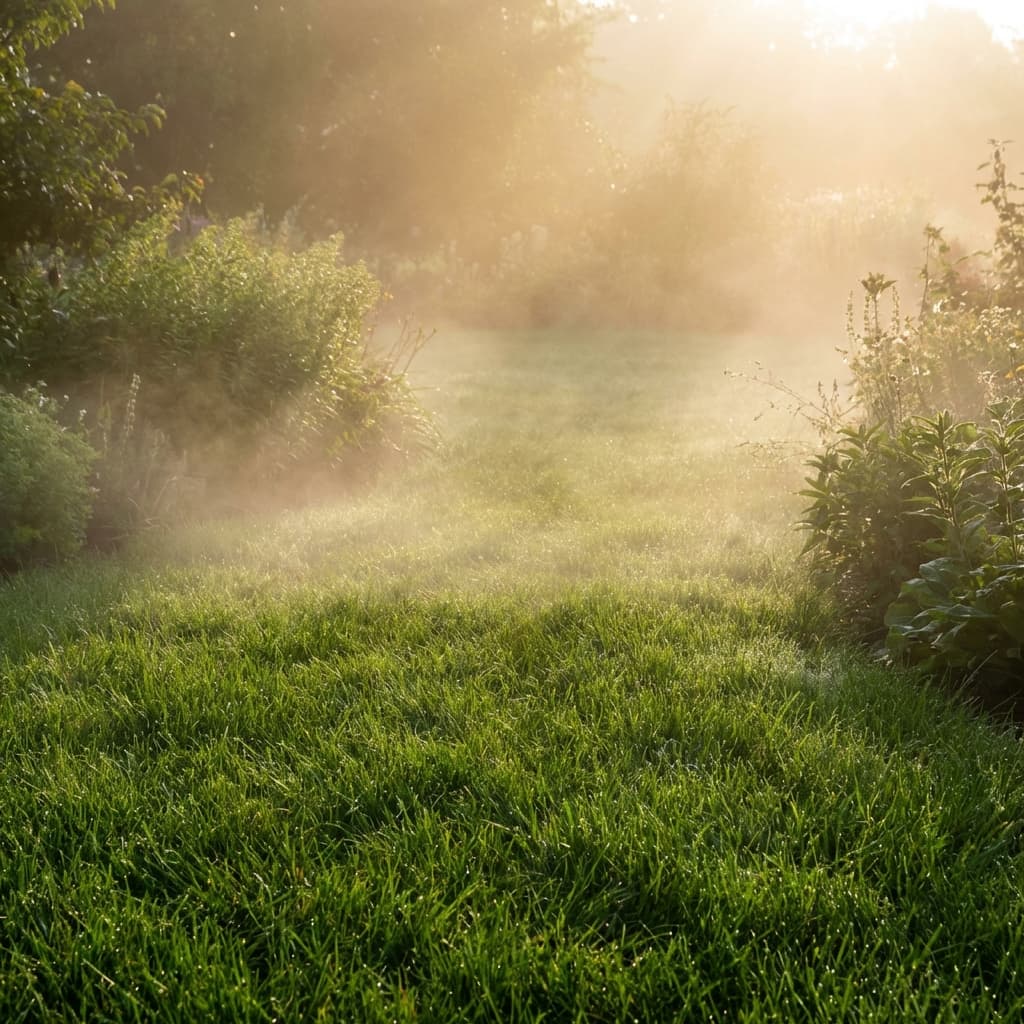
If you're growing vegetables or ornamental gardens in Jacksonville, you already know our weather makes irrigation tricky. Too little water during hot, dry May through June, and plants stress. Too much during our July through September rainy season, and you're overwatering. Drip irrigation solves both problems by delivering water precisely where plants need it, when they need it.
I've installed drip systems in gardens throughout Jacksonville—from small raised beds in Riverside backyards to extensive vegetable gardens in Mandarin and St. Johns County. The difference in plant health, water savings, and gardener convenience is substantial. If you're hand-watering or using sprinklers on your garden beds, you're working too hard and wasting resources.
Why Drip Irrigation Works in Jacksonville
Our climate presents specific challenges that drip irrigation addresses better than other watering methods.
Sandy Soil and Water Retention
Jacksonville's sandy soil drains fast. When you water with sprinklers or a hose, much of the water percolates down past the root zone before plants can absorb it. You think you're watering adequately, but roots are staying in the top 4-6 inches where moisture disappears quickly.
Drip irrigation applies water slowly—typically 0.5 to 2 gallons per hour per emitter. This slow rate gives water time to be absorbed laterally and vertically, staying in the root zone instead of draining away.
Summer Heat and Evaporation
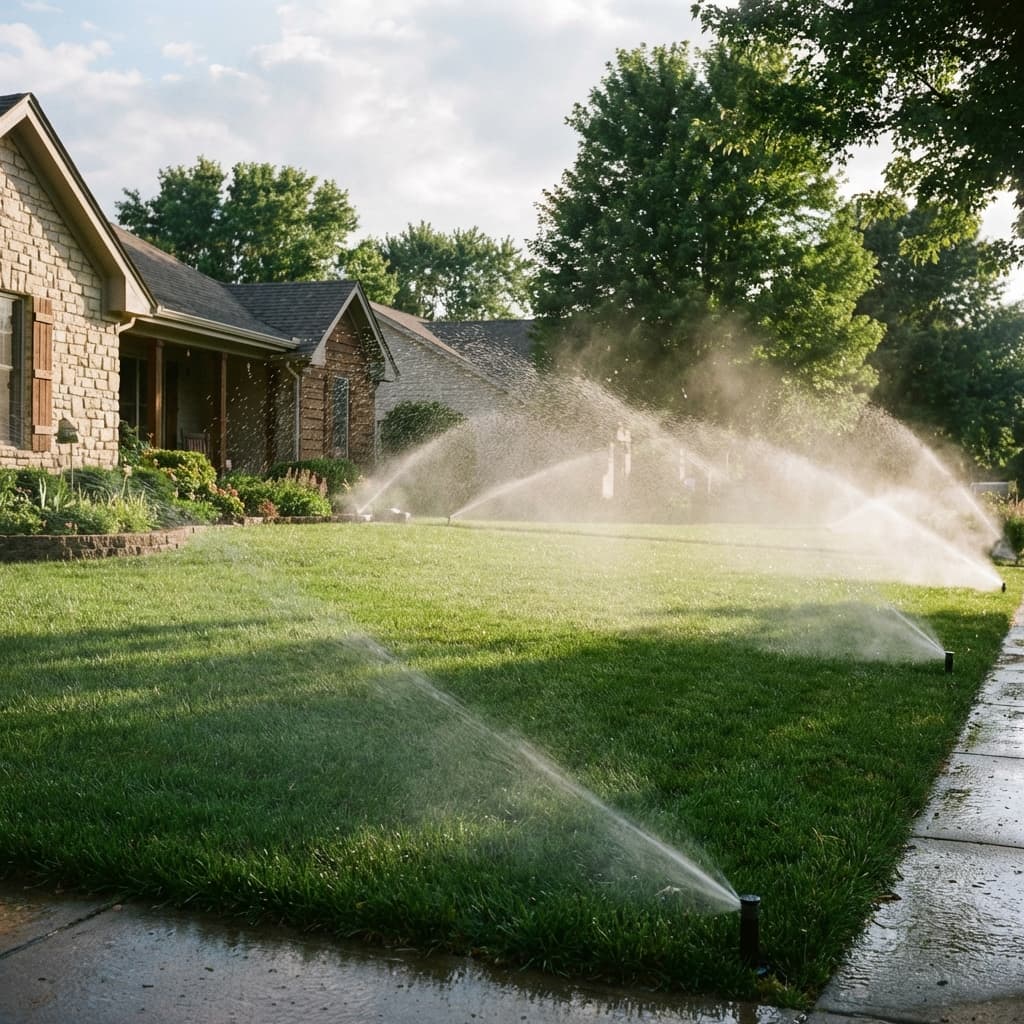
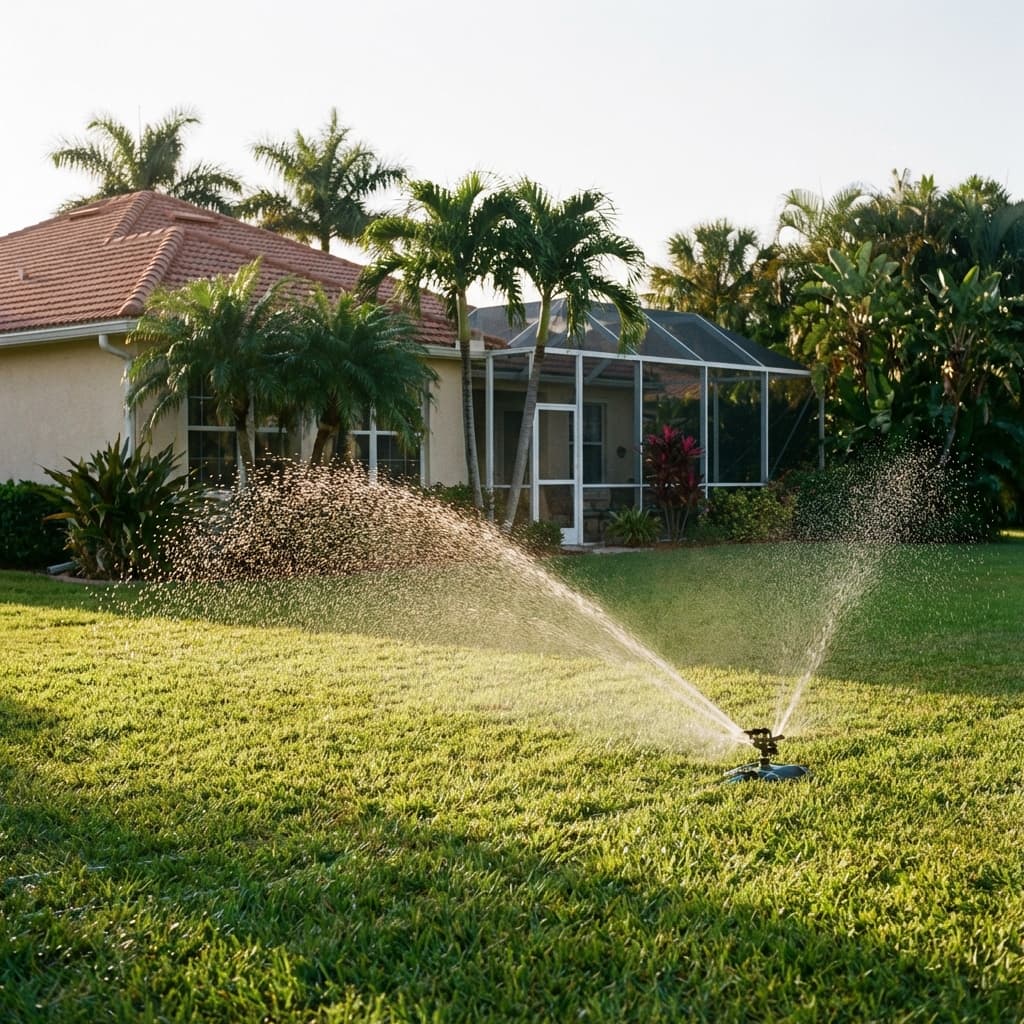
During May and June, we often see temperatures in the low-to-mid 90s before the rainy season starts. Evaporation rates are extreme. Overhead watering loses 30-50% of water to evaporation in these conditions.
Drip irrigation puts water directly on or below the soil surface, minimizing evaporation. This means more water reaches plants, and you use less overall.
Disease Prevention
Jacksonville's humidity makes fungal diseases a constant threat to tomatoes, squash, peppers, and ornamentals. Overhead watering wets foliage, creating ideal conditions for fungal growth.
Drip irrigation keeps foliage dry while watering roots. This dramatically reduces disease pressure, particularly for tomatoes and cucurbits (cucumbers, squash, melons).
Weed Control
When you water with sprinklers, you water everything—including weed seeds. Drip irrigation only waters where you place emitters, keeping pathways and empty bed spaces dry. This reduces weed germination significantly.
Water Conservation
Water costs money and, during droughts, Jacksonville occasionally implements restrictions. Drip irrigation uses 30-50% less water than overhead systems while keeping plants healthier. It's good for your wallet and the environment.
Components of a Drip Irrigation System
Understanding the parts helps you design and install your system.
Main Line
This is the larger-diameter tubing (usually 1/2" or 5/8") that runs from your water source to your garden beds. It's the backbone of the system, carrying water from the supply to distribution areas.
Distribution Lines
Smaller-diameter tubing (typically 1/4") that branches off the main line and runs through garden beds. These deliver water to individual plants or areas.
Emitters
Devices that release water at a controlled rate. Types include:
- Individual drip emitters: Small devices that drip water at specific rates (0.5, 1, 2 GPH common). You place these at individual plants.
- Inline emitters: Emitters built into tubing at regular intervals (every 6", 12", or 18" common). Good for rows or dense plantings.
- Drip line/soaker line: Porous tubing that weeps water along its entire length. Less precise but works for closely spaced plants.
- Micro-sprayers: Small sprayers that wet a small area (1-3 foot diameter). Good for densely planted beds.
Pressure Regulator
Most drip systems need 15-30 PSI, but house water pressure is typically 40-80 PSI. A pressure regulator drops pressure to the correct range, preventing blowouts and ensuring even water distribution.
Filter
Essential for drip systems. Small particles in water clog tiny emitter openings. A 150-200 mesh filter prevents clogs and extends system life.
Backflow Preventer
Prevents contaminated water from flowing back into your household water supply. Required by code in most situations, especially if you're connecting to the same system that supplies drinking water.
Timer/Controller
Automates watering. Can be simple battery-operated timers that attach to a hose bib, or sophisticated controllers integrated with your irrigation system.
Connectors, Stakes, and Fittings
Various small parts: tees, elbows, end caps, barbed connectors, goof plugs (to seal unused holes), and stakes to hold tubing in place.
Designing Your System
Good design makes installation easier and ensures adequate water coverage.
Map Your Garden
Sketch your garden beds showing:
- Bed dimensions
- Plant locations (or typical plant spacing)
- Water source location
- Any obstacles (trees, structures, pathways)
This doesn't need to be fancy—a hand-drawn sketch with measurements works fine.
Calculate Water Needs
Different plants need different amounts of water. Jacksonville's hot season demands more than mild fall/spring weather.
General guidelines for Jacksonville:
- Vegetables during establishment and fruiting: 1-1.5 inches per week
- Vegetables during maintenance: 0.75-1 inch per week
- Established perennials: 0.5-1 inch per week
- Container plants: Variable, often daily in summer
Factor in rainfall. During July-September when we get afternoon storms, you'll need minimal supplemental watering. May-June is critical for irrigation.
Determine Emitter Placement
For row crops (beans, lettuce, carrots, etc.): Use inline drip tubing with emitters every 6-12 inches. Run one or two lines along each row.
For large plants (tomatoes, peppers, squash): Use individual emitters, 1-2 per plant depending on plant size and emitter flow rate. Place emitters 4-6 inches from the stem.
For dense plantings (flower beds, herbs): Use inline tubing winding through the bed, or micro-sprayers for coverage.
For container plants: Individual emitters with stakes work well. Adjust flow rate based on container size (smaller containers need less flow).
Plan Your Zones
Divide your garden into zones based on:
- Plant water needs (group high-water and low-water plants)
- Sun exposure (full sun areas dry faster than shade)
- Bed locations (group beds that are close together)
Each zone runs on its own valve and can have independent watering schedules.
Check Your Water Capacity
Your water source has limited flow rate (GPM—gallons per minute). You need to ensure you don't design more emitters than your supply can handle.
To test flow rate: Time how long it takes to fill a 5-gallon bucket. If it takes 1 minute, you have 5 GPM.
Add up the flow rate of all emitters you plan to run simultaneously. If they total more than your available GPM, you need multiple zones that run sequentially rather than simultaneously.
Installation Steps
Most homeowners can install drip irrigation systems without professional help.
Step 1: Gather Materials
Based on your design, purchase:
- Main line tubing
- Distribution tubing
- Emitters (type and quantity based on design)
- Pressure regulator
- Filter
- Backflow preventer (if not already present)
- Timer
- Connectors and fittings
- Tubing stakes
- Hole punch tool (for inserting emitters)
- End caps and goof plugs
Local irrigation supply stores (like Ewing Irrigation or SiteOne in Jacksonville) carry everything and can advise on component compatibility.
Step 2: Connect to Water Source
Most DIY systems connect to an existing hose bib. Install in this order:
- Backflow preventer (if needed—many hose bibs have built-in vacuum breakers)
- Timer
- Filter
- Pressure regulator
- Adapter to connect main line tubing
Use thread seal tape on threaded connections to prevent leaks.
Step 3: Lay Main Line
Run main line tubing from the water source to your garden area. This is your water highway—keep it somewhat out of the way but accessible for maintenance.
Use stakes to secure main line every 3-4 feet. This prevents tripping hazards and movement when the system pressurizes.
Step 4: Install Distribution Tubing
Connect distribution tubing to the main line using tee fittings or barbed connectors. Run distribution lines through your garden beds according to your design.
For inline emitter tubing, position emitters where you want them (next to plants). For blank tubing, you'll punch holes and add emitters in the next step.
Stake distribution tubing every 2-3 feet, more frequently on slopes or windy areas.
Step 5: Install Emitters
Using a hole punch tool, make holes in the tubing where you want emitters. Push barbed emitters into holes firmly—they should be snug and leak-free.
If you make a mistake or need to remove an emitter, use a goof plug to seal the hole.
Step 6: Cap Ends
Install end caps on all tubing ends. These seal the system and maintain pressure. Use figure-eight end clamps or threaded end caps depending on your tubing type.
Step 7: Test the System
Turn on the water slowly and check for:
- Leaks at connections
- Proper emitter function (each emitting water at the expected rate)
- Even distribution across all zones
- Adequate pressure (emitters should drip steadily, not spray or dribble weakly)
Fix any leaks by tightening connections or replacing faulty components.
Step 8: Adjust and Optimize
Run the system and observe:
- Are there dry spots? Add emitters or adjust placement.
- Are some areas getting too much water? Reduce emitter flow rate or quantity.
- Is pressure uneven? You may need a larger main line or to redesign zones.
Step 9: Cover or Mulch
You can leave drip tubing on the surface or bury it under 1-2 inches of mulch. Mulch protects tubing from sun damage (UV degrades plastic over time), maintains soil moisture, and looks better.
Don't bury tubing more than 2 inches deep—it makes maintenance difficult and some emitters won't function properly if covered deeply.
Programming and Operation
Set Your Timer
Battery-operated hose bib timers are simple:
- Set watering start time (early morning, 4-6 AM, is ideal)
- Set duration (start with 30-60 minutes and adjust based on observation)
- Set frequency (daily during hot, dry periods; every 2-3 days during mild weather; turn off during rainy periods)
More sophisticated controllers offer multiple programs, zone control, and even weather-based adjustments.
Seasonal Adjustments
Spring (March-May): Moderate watering—2-3 times per week, 30-45 minutes per zone. Plants are growing actively but temperatures aren't extreme.
Summer before rainy season (May-June): Maximum water needs—daily or every other day, 45-60 minutes per zone. This is Jacksonville's driest, hottest period.
Rainy season (July-September): Minimal watering needed. Turn system off or set to run only if no rain for 3-4 days. Jacksonville averages 6-8 inches of rain monthly during this period.
Fall (October-November): Reduced watering—2-3 times per week, 30 minutes per zone. Temperatures drop and evaporation slows.
Winter (December-February): Minimal watering—once per week or less, 20-30 minutes. Many vegetables are dormant or slow-growing. Watch for cold snaps and don't water if freezing temperatures are forecast.
Monitor Soil Moisture
Don't just set and forget. Check soil moisture regularly:
- Dig down 4-6 inches in several spots
- Soil should be moist but not soggy
- If it's dry at depth, increase watering duration
- If it's constantly soggy, reduce watering
A simple moisture meter (available for $10-20) takes guesswork out of this.
Maintenance
Drip systems need regular attention to perform well.
Weekly During Operation
- Walk through and observe system operation
- Check for leaks, broken tubing, or clogged emitters
- Verify timer is operating correctly
- Adjust as plant needs change
Monthly
- Flush the system: Remove end caps and let water run through for a minute to clear sediment
- Clean the filter: Unscrew filter housing, rinse screen, reassemble
- Check for sun damage on exposed tubing
Seasonally
- Test all zones
- Replace any damaged components
- Adjust emitter placement for new plantings
- Recalibrate timer settings for seasonal water needs
Annually
- Deep clean: Flush entire system thoroughly
- Replace filter screen if cleaning doesn't restore flow
- Check pressure regulator operation
- Inspect all tubing for wear or sun damage
- Consider replacing old tubing (tubing typically lasts 3-5 years with sun exposure, longer if mulched)
Common Problems and Solutions
Uneven Water Distribution
Symptoms: Some plants thrive while others struggle, wet and dry spots.
Causes: Pressure inconsistency, clogged emitters, inadequate emitter spacing.
Solutions:
- Check pressure regulator is functioning
- Clean or replace clogged emitters
- Add emitters to dry spots
- Consider creating separate zones if pressure varies significantly across large areas
Algae Growth
Symptoms: Green slime in tubing, green buildup around emitters.
Causes: Clear tubing allows light penetration, creating conditions for algae growth.
Solutions:
- Use black or opaque tubing (standard for drip systems)
- Cover tubing with mulch
- Flush system regularly
- Add a mild algaecide to filter (specialized products available, but rarely necessary)
Low Pressure/Weak Flow
Symptoms: Emitters barely drip, uneven distribution, system takes long time to water.
Causes: Clogged filter, kinked tubing, too many emitters on one zone.
Solutions:
- Clean filter
- Check for kinked or crushed tubing
- Reduce number of emitters per zone or increase main line diameter
- Verify pressure regulator is set correctly
Leaks
Symptoms: Water pooling, wet areas away from emitters, reduced system pressure.
Causes: Cracked tubing, loose connections, animals chewing tubing.
Solutions:
- Replace damaged tubing sections
- Tighten loose connections
- Protect tubing from animal damage (bury or use physical barriers)
- Use goof plugs to seal unwanted holes
Clogged Emitters
Symptoms: Individual emitters not dripping or dripping slowly.
Causes: Sediment in water, mineral buildup, algae.
Solutions:
- Clean or replace clogged emitters
- Ensure filter is functioning and clean
- Flush system regularly
- If mineral buildup is severe, consider water treatment
Advanced Features
Once you have basic drip irrigation working, consider these upgrades:
Smart Controllers
WiFi-enabled controllers adjust watering based on weather data, soil moisture sensors, or evapotranspiration calculations. They can significantly reduce water use while improving plant health. Popular brands include Rachio, Hunter, and Rain Bird.
Soil Moisture Sensors
These interrupt irrigation when soil is adequately moist, preventing overwatering. Particularly useful during Jacksonville's rainy season.
Fertilizer Injection
Some systems allow you to inject liquid fertilizer through the drip system (fertigation). This delivers nutrients directly to roots with precision.
Zone Expansion
As your garden grows, add zones for new beds. Most controllers handle 4-8 zones easily.
Cost Considerations
A basic drip system for a typical Jacksonville home garden (3-4 raised beds, maybe 500 square feet total) costs $150-300 in materials. This includes timer, main and distribution tubing, emitters, and all necessary connections.
Professional installation runs higher but might be worth it for complex systems or if you're not confident in DIY.
Water savings offset costs quickly. Most gardeners report 30-50% reduction in water use, which in Jacksonville summer conditions means substantial savings.
The Bottom Line
Drip irrigation transforms Jacksonville gardening from a daily chore to a set-and-monitor system. Plants get consistent moisture exactly where they need it, water usage drops dramatically, and disease pressure decreases.
Installation takes a weekend for most home gardens. Maintenance is minimal—mostly just seasonal adjustments and occasional cleaning. The improvement in plant health and convenience makes it one of the best investments you can make in your garden.
Our hot, humid summers and sandy soil challenge gardeners. Drip irrigation addresses both directly, letting you grow better vegetables and ornamentals with less work and fewer resources. If you're serious about gardening in Jacksonville, drip irrigation should be in your toolkit.
Need Professional Sod Installation?
Jax Sod provides sod installation, sod replacement, and new lawn installation across Jacksonville and Northeast Florida. Free quotes!
Related Articles
Backflow Preventer Jacksonville Irrigation
Complete guide to backflow preventers for Jacksonville irrigation systems. Installation, testing, winterization, and code compliance for Zone 9a/9b properties.
Smart Irrigation Systems for Jacksonville Lawns
Smart irrigation systems Jacksonville homeowners trust for water savings, SJRWMD compliance, and healthier lawns in Florida's sandy soil.
The Golden Rules of Irrigation in Northeast Florida
Stop guessing with your sprinkler timer. Learn the science of deep watering to promote drought-tolerant roots and avoid fungus in St. Augustine and Zoysia lawns.
Get Started
Ready for a New Lawn?
Get a free, no-obligation quote from Jax Sod for sod installation, sod replacement, or a new lawn in the Jacksonville area.
(904) 901-1457