Sod Installation for New Construction Homes in Jacksonville
You've closed on your brand new home in Nocatee, World Golf Village, or one of Jacksonville's other thriving communities. The house is beautiful, but the yard is... dirt. Or worse, the builder threw down the cheapest sod and it's already dying. Here's what you need to know.
The Builder Sod Problem
Most builders include "sod" as part of the base package. But here's what they don't tell you:
- Lowest bid wins: Your builder hired the cheapest sod crew, and it shows.
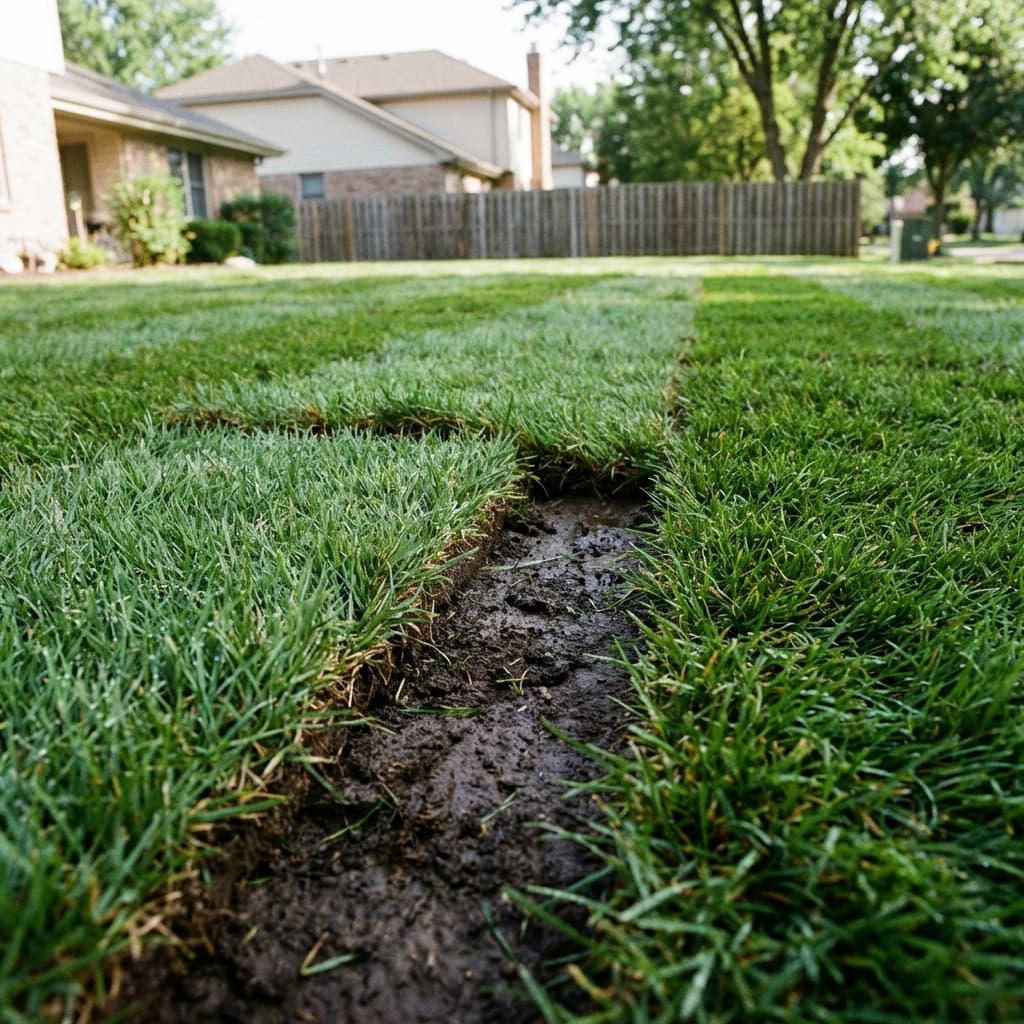
- No ground prep: Construction debris is barely scraped off. Sod is laid over rubble.
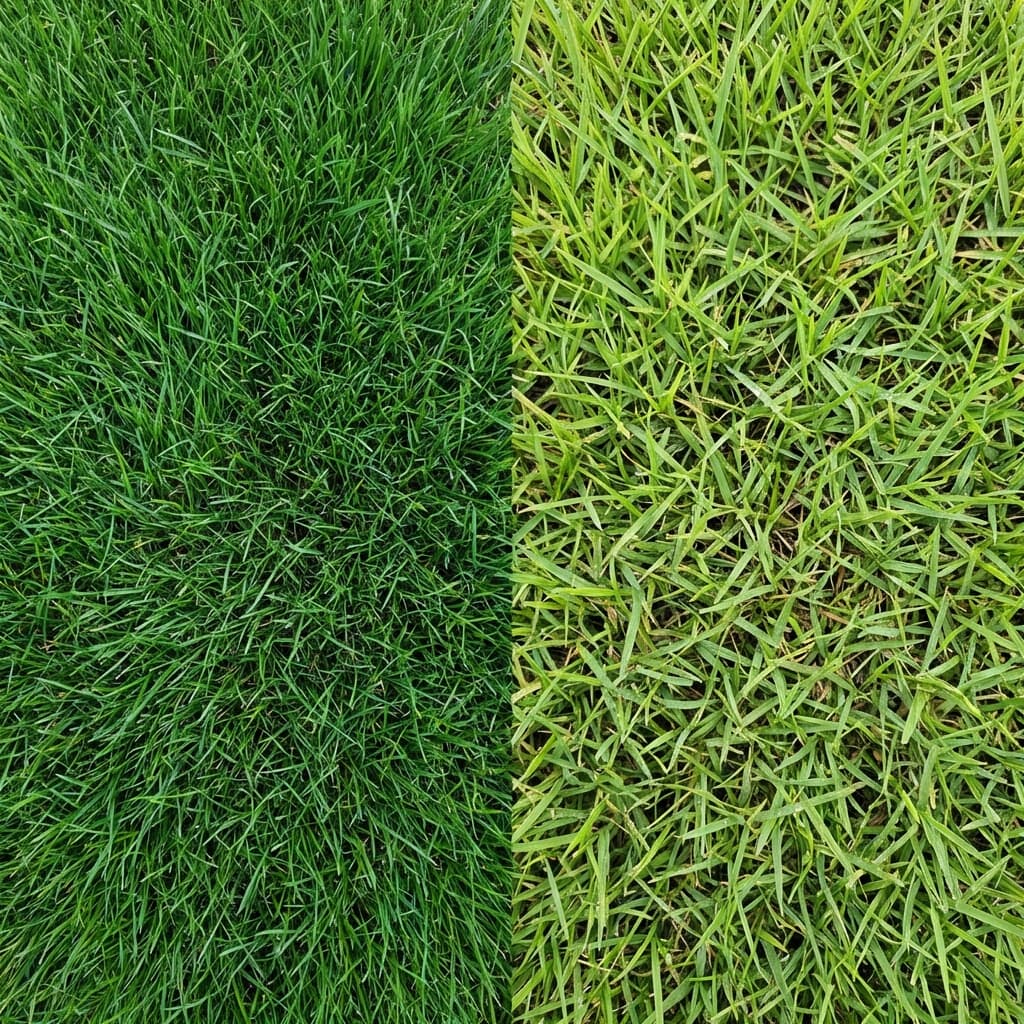
- Wrong grass type: They use whatever's cheapest, regardless of your yard's sun/shade conditions.
- Poor installation: Gaps between seams, no rolling, pieces already drying out on the pallet.
- No aftercare: They lay it and leave. Watering is your problem from day one.
We get calls every month from homeowners whose builder sod failed within 6-12 months. It's not your fault--it was set up to fail.
Option 1: Negotiate Sod Out of the Contract
If you're still in the buying phase, ask your builder if you can get a credit to exclude sod from the contract. Many will agree. This lets you hire a professional sod installer (like us) who will:
- Wait until construction debris is actually gone
- Properly grade and prepare the soil
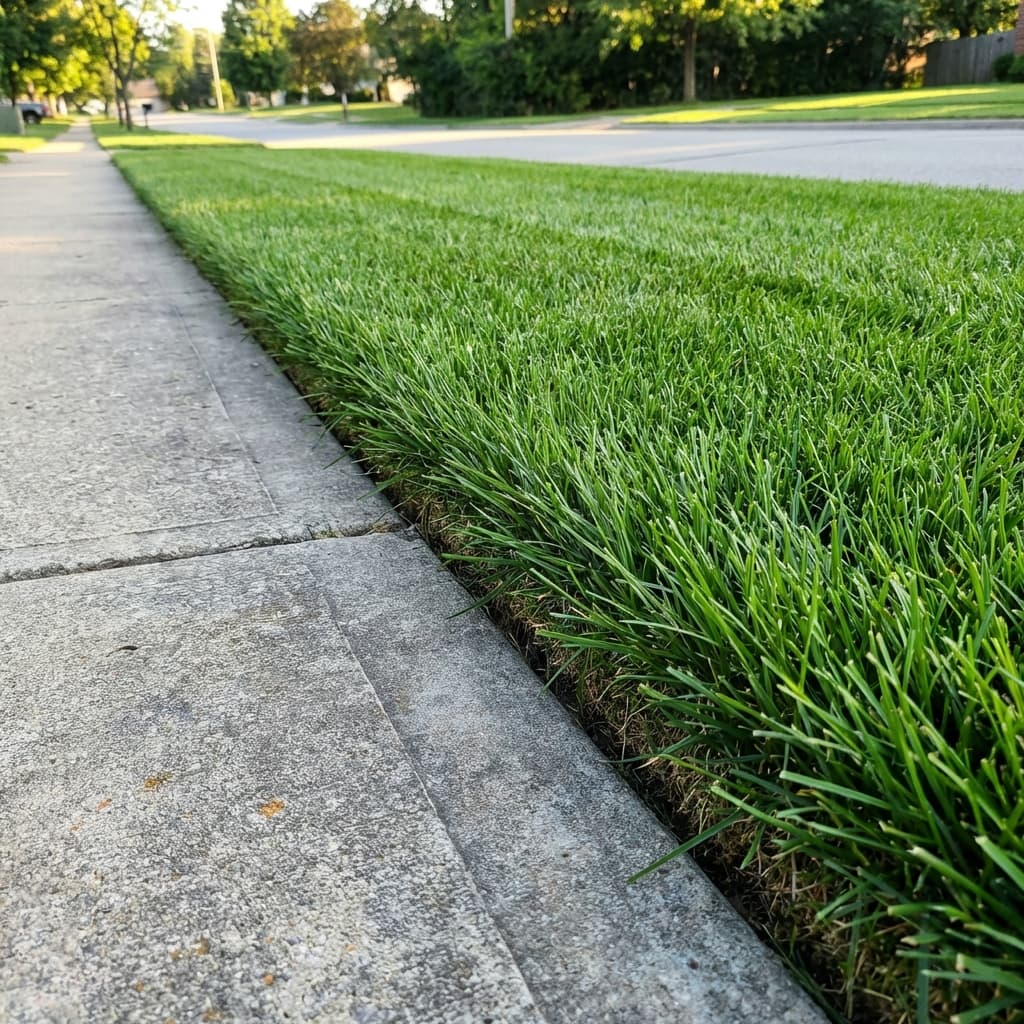
- Install premium sod suited to your yard's conditions
- Coordinate irrigation setup with your landscaper
Option 2: Replace Builder Sod After Closing
If it's too late and the builder sod is already struggling, here's the timeline:
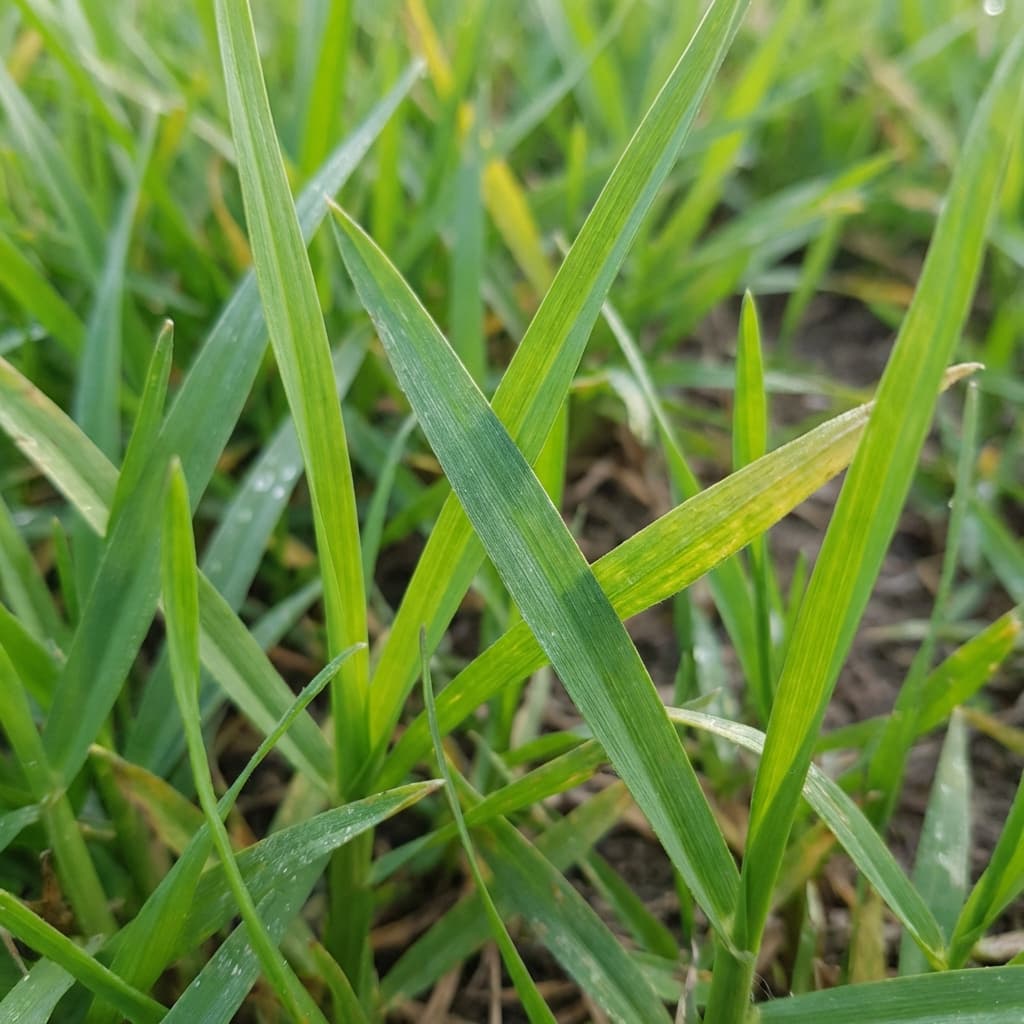
- 6 months: Give the builder sod a fair chance. Water it properly and see if it establishes.
- 12 months: If it's still patchy, thin, or dying, it's time to replace.
- The process: We strip the failed sod, remove construction debris hiding in the soil, properly smooth the ground, and install fresh, premium sod.
Timing: When to Sod a New Build
- Wait for final grading: Don't sod until final dirt work and drainage swales are complete.
- Irrigation first: Your sprinkler system should be installed and tested before sod arrives.
- Clear debris: Walk the lot. If there's wood, concrete chunks, or drywall scraps, it needs more prep.
New Construction Sod Installation Checklist
- Irrigation system installed and tested
- Final grading complete
- Construction debris removed
- Topsoil added if needed (sandy lots benefit from organic amendment)
- Sod type selected based on sun/shade analysis
- Watering schedule planned (you'll be watering 2-3x/day initially)
Building in Jacksonville? Contact Jax Sod before you close. We can coordinate with your builder to ensure your new lawn starts right.
Need Professional Sod Installation?
Jax Sod provides sod installation, sod replacement, and new lawn installation across Jacksonville and Northeast Florida. Free quotes!
Related Articles
New Construction Sod Installation in Jacksonville
Complete guide to sod installation for new construction homes in Jacksonville. Learn timing, soil prep, grass selection, and avoiding builder-grade sod issues.
Bartram Park Jacksonville Sod Installation: Complete Guide for New Lawns
Everything you need to know about sod installation in Bartram Park. From soil prep to variety selection, learn how to establish a beautiful new lawn in Jacksonville's climate.
10 Sod Installation Mistakes to Avoid in Jacksonville
Avoid costly sod installation mistakes in Jacksonville. Learn the top 10 errors homeowners make and how to install your lawn correctly the first time.
Get Started
Ready for a New Lawn?
Get a free, no-obligation quote from Jax Sod for sod installation, sod replacement, or a new lawn in the Jacksonville area.
(904) 901-1457